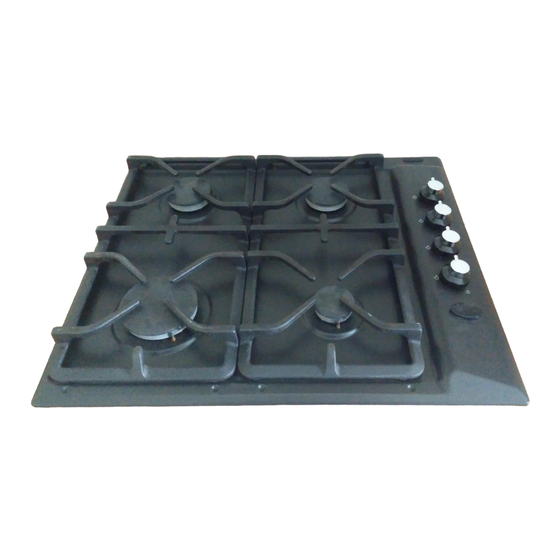
IKEA DATID HGA4K Gebruikershandleiding - Pagina 6
Blader online of download pdf Gebruikershandleiding voor {categorie_naam} IKEA DATID HGA4K. IKEA DATID HGA4K 16 pagina's. Lagan
Ook voor IKEA DATID HGA4K: Instructies (4 pagina's), Handmatig (24 pagina's), Montagehandleiding (20 pagina's), Handmatig (12 pagina's)

ENGLISH
2. Keep the knob pushed for about 5 sec; this
will allow thermocouple to heat up, and the
safety device to switch off, otherwise the
gas supply would be interrupted.
3. After the flame is regular, adjust it as pre-
ferred.
If after a few attempts the burner does not
ignite, check that the crown and its cap
are in correct positions.
1
Burner cap
2
Burner crown
3
Ignition candle
4
Injector
5
Thermocouple
Warning! Do not keep control knob
pressed for more than 15 seconds.
If the burner does not light after 15 seconds,
release the control knob, turn it into off position
and wait for at least 1 minute before trying to
light the burner again.
Helpful hints and tips
Energy savings
• If possible, always place lids on the pans.
• As soon as liquid starts boiling, turn down
the flame to barley keep the liquid simmer-
ing.
Use pots and pans with bottom fitting the size
of burner used.
Important! In the absence of electricity You
can ignite the burner without electrical device;
in this case approach the burner with a flame,
push the relevant knob down and turn it
counter-clockwise to maximum gas release
position.
Warning! Maintain extreme caution
when using open fire in kitchen
environment. Manufacturer decline any
responsibility in case misuse of the flame.
If the burner accidentally goes out, turn
1
the control knob to the off position and
wait for at least 1 minute before trying to light
it again.
2
When switching on the mains, after in-
stallation or a power cut, it is quite normal
for the spark generator to be activated auto-
3
matically.
4
Turning the burner off
5
To put the flame out, turn the knob to the sym-
bol
Warning! Always turn the flame down or
switch it off before removing the pans of
the burner.
Burner minimum diam-
Rapid
Semi-
rapid
Auxili-
ary
.
eter of pots and
pans
180 mm
120 mm
80 mm
6
maximum di-
ameter pots
and pans
260 mm
220 mm
160 mm
