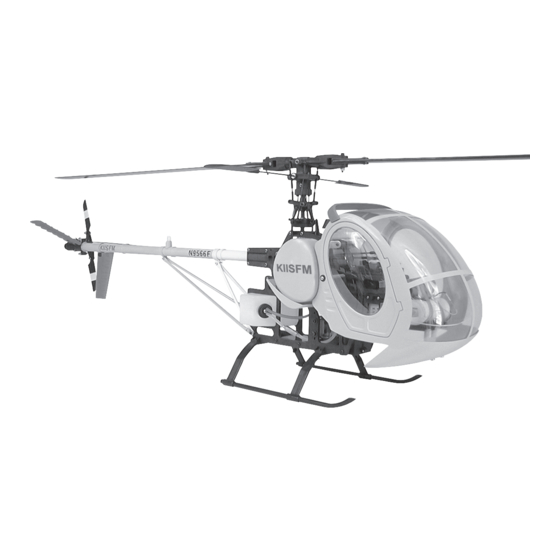
Century Helicopter Products Schweizer 300 Scale Gebruiksaanwijzing - Pagina 4
Blader online of download pdf Gebruiksaanwijzing voor {categorie_naam} Century Helicopter Products Schweizer 300 Scale. Century Helicopter Products Schweizer 300 Scale 12 pagina's.

Step 1
Prepare the fiberglass, wash all parts in warm water with mild detergent to remove all residue used in the molding
process and let the dry completely. The cabin set can be used as is with the bright yellow gelcoat, simply applying
the decals directly on the fiberglass. Alternately the cabin can be painted to match an existing full scale Schweizer
300 or create your own unique paint scheme. When custom painting, read through the instructions and make all
the necessary holes in the parts but do not attach any of the major components. Apply paint (remember to use a
fuel proof paint) and complete all detailing before final assembly, some reopening of drilled holes may be necessary
that may have filled in during the painting process.
Step 2
To attach the front windshield to the fiberglass cabin,
carefully trim along the outside of the marked line. Note
that the clear window is glued to the inside of the fiber-
glass canopy. Trim such that when the clear plastic
bubble is inserted into the fiberglass cabin from the
inside about 1/4" of the clear plastic material extends
beyond the window boundary. When satisfied with the
fit, glue the clear plastic to the fiberglass with "goop"
adhesive. It is not necessary to glue the window frame
strips to the clear plastic window. Apply the adhesive
only to the perimeter of the fiberglass cabin. With final
positioning of the windshield, take short lengths of
clear tape and apply over the fiberglass strips on the
outside of the cabin to hold the windshield in place
while the adhesive dries. Make sure adhesive is thor-
oughly set before preceding to any additional step
utilizing the main cabin.
Tip: Use a small blade screw driver to apply the
adhesive to the window/cabin joint. Attempting to
apply the adhesive directly from the tube will likely
result in runs on the exposed areas of the window.
Step 3
In a similar manner, trim excess material from one of the clear plastic
cabin door windows. Again, the clear window material is to be glued to
the inside of the door frame. For easy reference, position each door in
the cabin and mark the inside surface with a pencil. Note that this
trim process must be a little more exact in order to fit properly, the
door window should only extend about 1/8" beyond the window
opening. When satisfied with the fit, apply glue the door opening with
"goop" adhesive. Make sure the adhesive is thoroughly set before
proceeding to any additional step using the door. Repeat for the
opposite door, Make sure you build a left hand and a right hand door.
3
Apply to
inside
edge.
Make one left and
one right side.
Apply to
inside edge.
