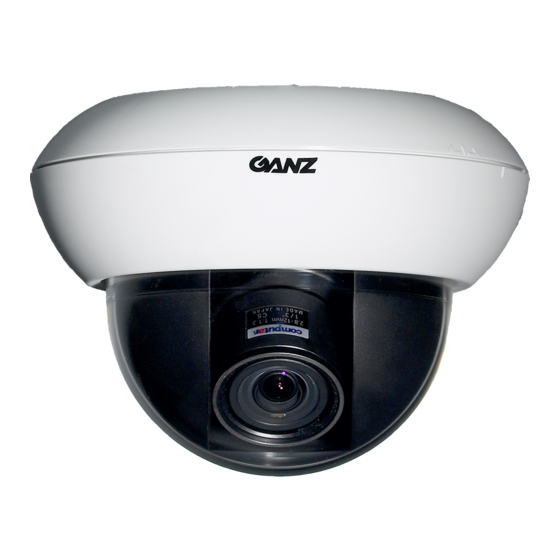
Ganz ZC-DN5212NHAT Gebruiksaanwijzing - Pagina 5
Blader online of download pdf Gebruiksaanwijzing voor {categorie_naam} Ganz ZC-DN5212NHAT. Ganz ZC-DN5212NHAT 12 pagina's. Mini dome camera

Attaching to the surface of the ceiling or wall
This section explains how to install the unit where cables are running
through the interior of the ceiling or wall. When running cables on the
exterior surface of the ceiling or wall, please drill holes in the ceiling or wall
as directed in step 1, then refer to "Running cables on the exterior surface
of the ceiling or wall" on the right.
1
Drilling holes in the ceiling or wall
Use the template included to mark out the position on the ceiling or wall where
you want to install the unit.
●
When running cables through the interior of the ceiling or wall
Use the template, and drill two holes for screws (Screw A) used to attach
the camera body and one hole for the cables (Cables).
●
When running cables on the exterior surface of the ceiling or wall
Use the template, and drill two holes for screws (Screw A) used to attach
the camera body.
2
Attaching the camera body
Remove the body cover and attach the camera body to the ceiling or wall.
●
Please use fixing screws suitable for the material of the ceiling or wall when
attaching the camera body. We recommend using screws with a 4mm
diameter.
When you finish attaching the camera, refer to page EG-7.
Running cables on the exterior surface of the ceiling or wall
To run cables on the exterior surface of the ceiling or wall, use the following
procedure to attach the camera body.
Remove the surface mount cover from the camera body.
Remove the marked area on rear surface of the camera body and the surface
mount cover to open holes for the cables to pass through.
Rear surface of the camera body
Attach the surface mount cover to the camera body.
Remove the body cover and attach the
camera body to the ceiling or wall.
●
Pass the cable through the holes you
prepared in Step 2 above.
●
Please use fixing screws suitable
for the material of the ceiling or wall
when attaching the camera body. We
recommend using screws with a 4mm
diameter.
EG-5
Hold the body cover and
turn the surface mount
cover in a counter-
clockwise direction until you
hear a click.
Surface mount cover
Pass the cable through here.
