Green R/C Model Airplanes Tiger Moth Gebruiksaanwijzing - Pagina 10
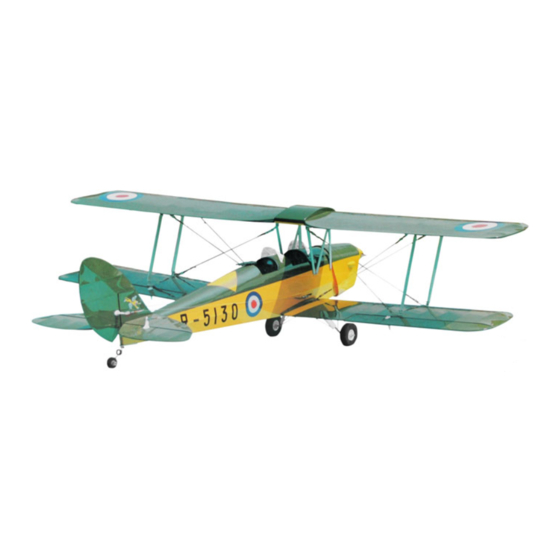
Blader online of download pdf Gebruiksaanwijzing voor {categorie_naam} Green R/C Model Airplanes Tiger Moth. Green R/C Model Airplanes Tiger Moth 11 pagina's. The unique almost-ready-to-fly scale 1:7 model of great britain's famous wwii training aircraft
Ook voor Green R/C Model Airplanes Tiger Moth: Gebruiksaanwijzing (11 pagina's)

Step
Step 9. 9. 9. 9. Installing
Installing
the
Step
Step
Installing
Installing the
the wing
the
Before installing the flying
1)
wire sub-assembly and the parts of elevator
sub-assembly is made up of four components, i.e. the clevis,
tubes
tubes
tubes
tubes and the cable
The aluminum
aluminum
aluminum angle
aluminum
2)
lower wing panels. Connect the clevis
shown in
Fig.
Fig.
Fig.
Fig. (9)
Carefully adjust the tension on each of the flying wires so that the wings are held in proper
3)
alignment to each other. This
wires, the airplane may not be controllable in flight.
The crimp tubes at the rear of the rudder and elevator pull-pull cables have been left lose so that
4)
you can adjust the length of the cables if necessary. YOU MUST CRIMP THESE TUBES with
a crimping tool or heavy-duty narrow-jaw pliers (not needle nose pliers) after you finish
adjusting the rudder and elevators. Failure to do this could cause you to lose control of the
airplane and to crash it. It's a good idea to check that all of the crimp tubes are tight and then put
a drop or two of thin CA on the tubes to be doubly sure that they won't slip.
1. Check the alignment
alignment
alignment and trim
alignment
2. Check the tension
tension
tension in the wing flying wires and the pull-pull control wires.
tension
3. Check tightness of everything
4. Check the C.G.
C.G.
C.G. point,
C.G.
point, which must be between 4 to 4. . . . 5 inches (105 to115 m.m..) behind the leading
point,
point,
edge
edge
edge measured at the center of the upper
edge
5. Make sure that the servos
6. 6. 6. 6. Perform a radio
radio
radio
range
range
radio range
range check
All manuals and user guides at all-guides.com
wing
flying
wires
wing
wing flying
flying
flying wires
wires
wires
flying
flying
wire
wire
sub-assembly
sub-assembly
flying wire
wire sub-assembly
sub-assembly (W17), let's have a close look at the parts of the
cable
cable as shown in
cable
Fig.
Fig.
Fig.
Fig. (10
angle
angle
angle mounts
mounts
mounts
mounts and flying
flying wire
flying
flying
clevis
clevis
clevis end of the wires to the connectors
. . . .
(9)
(9)
(9)
This
This
This is is is is very
very
very important!
very
Fig.
Fig.
(10)
(10)
Fig.
Fig. (10)
(10) Flying
1. Rudder Pull-pull cable
3. Clevis
5.Stainless steel tube (flattened to retain the cable)
Final
Final
Check
Check
Final
Final Check
Check before
trim
trim
trim of the airplane after final assembly.
everything
everything that should be be be be securely
everything
upper
upper
upper wing
servos
servos
servos operate
operate properly
operate
operate
properly
properly
properly and the control
check
check
engine
engine
check with the engine
engine running.
elevator
elevator
pull-pull
pull-pull
control
control
elevator pull-pull
pull-pull control
control wire
clevis,
clevis,
clevis, the threaded
). ). ). ).
(10
(10
(10
wire
wire connectors
wire
connectors
connectors
connectors are already mounted on the upper and
important!
important!
important! If the wings are twisted by misadjusted flying
Flying
Flying
wire
wire
sub-assembly
sub-assembly
Flying wire
wire sub-assembly
sub-assembly
2.Flying wire
before
before
flying
flying
before flying
flying
securely mounted.
securely
securely
mounted.
mounted.
mounted.
wing
wing
wing center
center
center section.
center
section.
section.
section.
control
control
control surfaces
surfaces
surfaces
surfaces move
running.
running.
running.
10
wire
wire
wire .
As you can see, the wire
threaded
threaded
connector,
connector,
threaded connector,
connector, the crimp
connectors at all the points as
connectors
connectors
4. Threaded connector
6. Nut (to secure the clevis)
move in in in in the
move
move
the
the
the correct
correct direction.
correct
correct
direction.
direction.
direction.
crimp
crimp
crimp
leading
leading
leading
