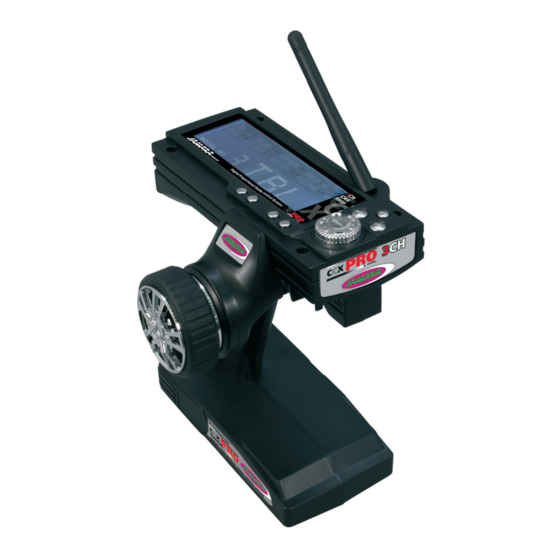
Jamara CCX Pro 2,4 GHz Gebruiksaanwijzing - Pagina 11
Blader online of download pdf Gebruiksaanwijzing voor {categorie_naam} Jamara CCX Pro 2,4 GHz. Jamara CCX Pro 2,4 GHz 20 pagina's.
Ook voor Jamara CCX Pro 2,4 GHz: Instructie (12 pagina's), Gebruiksaanwijzing (20 pagina's), Gebruiksaanwijzing (20 pagina's)

Ricevente
Ricevente
Receiver
IT - Fail Safe
Programmazione del gruppo integrato di FailSafe
1. Descrizione della Funzione
L'unità FailSafe è concepita principalmente per l'utilizzo sulle imbar-
cazioni e sui veicoli. Serve per evitare la perdita del modello, deter-
minando la chiusura del gas, nell'eventuale assenza di segnale. Se la
ricevente perde il segnale della trasmittente, il servo del gas o regola-
tore di velocità ritorna automaticamente sulla posizione programmata
inizialmente.
2. Impostazione
a. Accendere la trasmittente
b. Accendere la ricevente. Il segnale LED lampeggia continuamente
e indica che la ricevente è pronta.
c. Spostare sul trasmettitore la leva dell'acceleratore nella posizione
di freno, o zona spento nel regolatore di velocità. Tenere la leva
del gas su questa zona.
d. Premere il pulsante Imposta sul ricevitore. Il segnale LED
lampeggia per 3 secondi (vedi illustrazione a sinistra).
e. L'impostazione è salvata e si può portare la leva dell'acceleratore
in posizione neutra.
3. Prova delle impostazioni
a. Accendere la trasmittente.
b. Accendere la ricevente.
c. Spegnere la trasmittente.
d. Ora la ricevente perde il segnale e conduce il servo del canale
gas o il regolatore di velocità sulla posizione in precedenza
programmata.
e. Seguire la procedura descritta sopra, il processo FailSafe
funziona correttamente.
Fail Safe
LED
Batteria
Batteria
Battery
Battery
Spina allacciare
Spina allacciare
Binding Plug
Binding Plug
GB - Fail Safe
Programming of the integrated FailSafe unit.
1. Function Description
The built-in FailSafe unit is mainly for the use on boats and cars. It is
used to prevent loss of the model in case of signal loss and returns the
servo to the position which was set before.
2. Setting
a. Turn on the transmitter
b. Turn on the receiver. The signal LED will fl ash continuously and
indicates that the receiver is ready.
c. Move the throttle lever on the transmitter in the braking or
outlet position. Hold the throttle lever in this position.
d. Press the Setup button on the receiver. The signal LED fl ashes for
3 seconds (see left).
e. The setting is saved and you can bring back the throttle into
neutral position.
3. Testing the settings
a. Turn on the transmitter.
b. Turn on the receiver.
c. Turn off the transmitter.
d. The receiver will now lose the signal and drives the servo or the
speed control on the gas channel to the previously programmed
position.
e. If these steps work, you have set the FailSafe.
11
11
