CORNING EDGE8-02U Installatie en testen - Pagina 4
Blader online of download pdf Installatie en testen voor {categorie_naam} CORNING EDGE8-02U. CORNING EDGE8-02U 13 pagina's. Tap module
Ook voor CORNING EDGE8-02U: Installatie en testen (8 pagina's)
5.2
Tap modules must be tested with directionality in mind. The source must be always connected
to the input of the splitter and a meter must be connected to at least one of the outputs of the splitter.
Connecting a source to the output of a splitter will result in high attenuation. Likewise, connecting
network transmitters to the output of a splitter can result in damage to the receiver port. Thus, it is
important to understand the polarity of the system before connecting to the network gear.
Wavelength Considerations
5.3
The splitters on multimode modules are optimized for 850 nm VCSEL (Vertical-cavity Surface-
emitting Lasers), thus when testing multimode systems, use only the 850 nm wavelength.
5.4
Single mode systems should be tested at 1310 nm. They may be tested at 1550 nm only when
the electronics being monitored are using ER transceivers (up to 40 KM).
6.
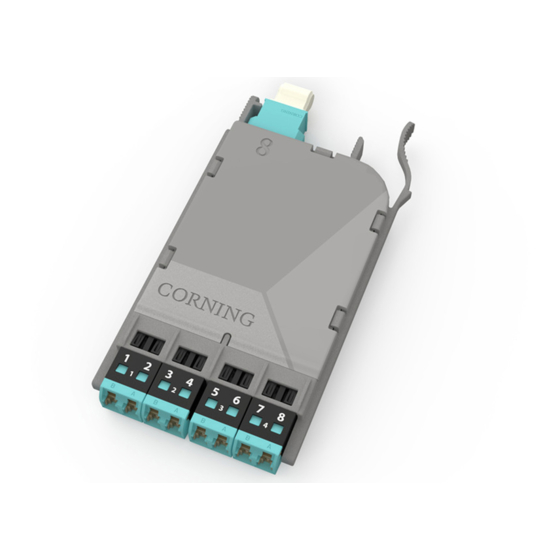
Installing EDGE8™ MTP Tap Modules
6.1
EDGE8 MTP Tap modules are installed just like their normal EDGE8 module counterparts.
Refer to the Installation chapter in SRP 003-1002, EDGE8 Solution, for complete instructions. This
chapter covers module installation, trouble shooting, and other module-related topics as well.
7.
Referencing the Test Equipment for an MTP Tap Module
7.1
Start by powering on the source and meter and allowing a minimum of 5 minutes for them to
warm up and stabilize. This referencing procedure is if both outputs are being tested at the same time
as shown in Figures 16 and 17. If the LIVE and TAP portions of the network will be tested at different
times, only reference one source to a meter (7.2, Steps 1-3 and 6-7).
For multimode systems: set the unit to the 850 nm wavelength.
For single mode systems: Set the unit to the operating wavelength of the system, either 1310
7.2
To reference the source and two meters:
Step 1:
Clean and insert the SC-end of
the SC to LC jumper (Reference
Jumper no. 1, or RJ1) into the
output of the light source.
Step 2:
Clean and insert the LC end
of RJ1 jumper into the LC port
adapter of Meter no. 1 (M1)
(Figure 6).
For multimode only: Wrap the jumper 5 times and
secure it in a 22 mm mandrel with tape (standard
50 µm multimode procedure).
Step 3:
Verify that RJ1 and the light source have an acceptable power level at your system's
wavelength(s) and reference this power to 0.00 dB. See the test equipment
manufacturer's instructions for acceptable power output of the source.
Step 4:
Disconnect and move the meter-end LC of RJ1 to Meter no. 2 (M2) and repeat step
3. Disconnect M2 after this step.
Step 5:
Clean and insert the LC end of RJ1 into a single-mode LC adapter.
STANDARD RECOMMENDED PROCEDURE 003-139-AEN | ISSUE 1 | JANUARy 2017 | PAGE 4 OF 13
or 1550 nm.
22 mm mandrel wrap for multimode only
Light Source
HPA-0758
Reference
Do NOT
Jumper no.1
disconnect
RJ1
(Tx)
0.00
Meter no. 2
Meter no. 1
(RX)
(RX)
M2
M1
Figure 6