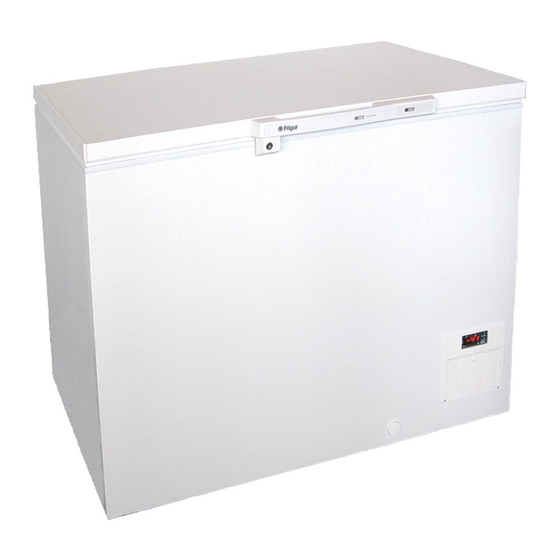
Frigor GLE Gebruiksaanwijzing - Pagina 6
Blader online of download pdf Gebruiksaanwijzing voor {categorie_naam} Frigor GLE. Frigor GLE 9 pagina's. Low temperature freezers
Ook voor Frigor GLE: Gebruiksaanwijzing (14 pagina's)

User Instructions Low Temperature Freezers Model GLE
EVK 012
Thermoregulator for general purposes
18 Wiring diagram
With reference to the wiring diagrams:
• the polarity of relay K1 depends on parameter
u9; according to the default setting, the relay
is activated when the regulator is turned off
and deactivated when the regulator is turned
on
• the polarity of relay K2 depends on parameter
u3; according to the default setting, the relay
is activated during the normal operation and
deactivated during an alarm
• the serial port (by request) is the port for the
communication with the supervision system
(through a serial interface, via TTL, with MOD-
BUS communication protocol) or with the
programming key; the port must not be used
at the same time for the same purposes.
Additional information for electrical connec-
tion:
• do not operate on the terminal blocks with
electrical or pneumatic screwers
• if the instrument has been moved from a cold
location to a warm one, the humidity could
condense on the inside; wait about an hour
before supplying it
• test the working power supply voltage,
working electrical frequency and working
electrical power of the instrument; they must
correspond with the local power supply
• disconnect the local power supply before
servicing the instrument
• do not use the instrument as safety device
• for repairs and information on the instrument
please contact Evco sales network.
User Instructions Low Temperature Freezers Model UNI/LT
Livøvej 22 - 8800 Viborg - Tlf. 86 61 34 11 - www.frigor.dk
19 USER INTERFACE
19.1 Turning on/off the instrument
To turn on the instrument you have to supply
it; to turn it off it is enough to cut off the power
supply.
19.2 Locking/unlocking the keyboard
To lock the keyboard:
• make sure no procedure is running
•
press
and
2 s: the display will show
"Loc" 1 s.
If the keyboard is locked, you will not be al-
lowed to:
• modify the working setpoint with the proce-
dure related in paragraph 4.1 (you also can
modify the working setpoint through param-
eter SP).
These operations provoke the visualization of
the label "Loc" 1 s.
To unlock the keyboard:
•
press
and
2 s: the display will show
"UnL" 1 s.
19.3 Silencing the buzzer
• make sure no procedure is running
• press a button (the first pressure of the button
does not provoke its usual effect).
20 SETTINGS
20.1 Setting the working setpoint
• make sure the keyboard is not locked and no
procedure is running
•
press
LED out 1 will flash
•
press
or
in 15 s; also look at param-
eters r1, r2 and r3
•
press
or do not operate 15 s.
You also can modify the working setpoint
through parameter SP.
20.2 Setting configuration parameters
To gain access the procedure:
• make sure no procedure is running
•
press
and
4 s: the display will show
"PA"
•
press
•
press
to set "-19"
•
press
•
press
and
4 s: the display will show
"SP".
To select a parameter:
•
press
or
To modify a parameter:
•
press
•
press
or
•
press
or do not operate 15 s.
6
|
6
