Makita 6924N Gebruiksaanwijzing - Pagina 4
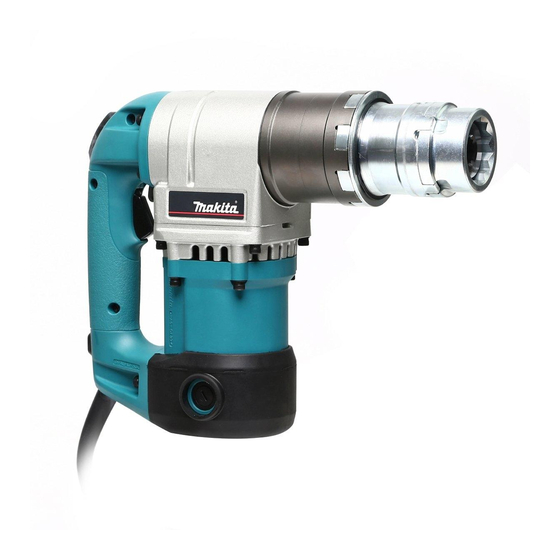
Blader online of download pdf Gebruiksaanwijzing voor {categorie_naam} Makita 6924N. Makita 6924N 8 pagina's. Shear wrench
Ook voor Makita 6924N: Gebruiksaanwijzing (20 pagina's), Gebruiksaanwijzing (8 pagina's)
Switch action
005844
CAUTION:
Before plugging in the tool, always check to see
•
that the switch trigger actuates properly and
returns to the "OFF" position when released.
To start the tool, simply pull the switch trigger. Release
the switch trigger to stop.
ASSEMBLY
CAUTION:
Always be sure that the tool is switched off and
•
unplugged before carrying out any work on the
tool.
Removing the outer and inner sleeves
1
2
005845
CAUTION:
Be careful not to allow foreign matter to enter the
•
insides of the tool when removing or installing the
outer and inner sleeves.
The outer sleeve M24 and inner sleeve M24 are factory -
installed. If you need other sizes for your work, replace
the sleeves as follows.
Loosen the two screws while holding the outer sleeve.
The outer and inner sleeves will be pushed up by the
springs built into the tool.
Press the pin down to remove the inner sleeve from the
outer sleeve. Be careful not to drop the inner sleeve
when removing it. Do not remove the inner sleeve spring,
tip rod and tip rod spring from the tool.
1. Switch trigger
1
1. Outer sleeve
2. Screw
004985
004986
Installing the outer and inner sleeves
Hold the inner sleeve with the pin facing upward. Place
the outer sleeve over the inner sleeve. Press the pin to
allow inserting the inner sleeve, then release the pin to
secure the inner sleeve.
004987
Insert the outer and inner sleeves into the tool while
rotating the inner sleeve alternately clockwise and
counterclockwise until there is no gap between the outer
sleeve and the tool. See the figure. Then tighten the two
screws securely.
2
3
4
005846
4
1. Inner sleeve
1
2. Pin
3. Outer sleeve
2
3
1. Tip rod
2. Tip rod spring
1
3. Inner sleeve
spring
2
3
1. Outer sleeve
1
2. Pin
3. Inner sleeve
2
3
1. There should be
no gap between
1
the outer sleeve
and the tool.
2. Inner sleeve
3. Outer sleeve
4. Screw