Gardena 8200 Gebruikershandleiding - Pagina 3
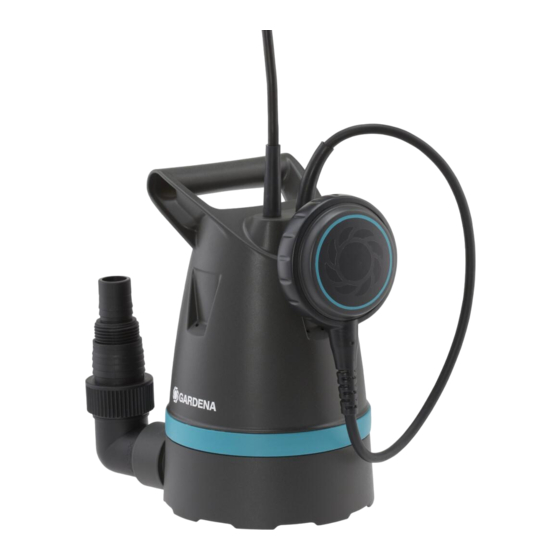
Blader online of download pdf Gebruikershandleiding voor {categorie_naam} Gardena 8200. Gardena 8200 7 pagina's. Clear/dirty water submersible pump
Ook voor Gardena 8200: Gebruikershandleiding (13 pagina's), Gebruikershandleiding (14 pagina's)

1. ASSEMBLY
You can install the pressure regulator above or below ground. We recommend installing the pressure
regulator below ground, and centrally in front of the valves in order to protect downstream components
from excessive operating pressure. Additionally, the integrated filter protects the irrigation system from
contamination.
1.1. To install the pressure regulator above ground
In case of an installation above ground, you need one GARDENA Connector 25 mm x 1" female
thread (art. 2762) per side in order to connect the pressure regulator to the GARDENA Connecting
Pipes of 25 mm (Art. 2700 / 2701 / 2718).
7
6 cm
1. On each side, screw a connector (art. 2762)
2. Place the pressure regulator
between the connectors
5
Make sure to install the pressure regulator
the arrow
on the pressure regulator
13
3. On each side, connect the connecting pipes
2762)
.
6
Make sure to insert the connecting pipes
After a few centimetres you will feel a resistance (sealing ring). Push the connecting pipe in even
further until it is stopped. This ensures a tight connection.
1.2. To install the pressure regulator below ground
In case of an installation below ground, you need two different connectors per side in order to connect
the pressure regulator to the GARDENA connecting pipes of 25 mm (Art. 2700 / 2701 / 2718):
• the GARDENA 1''x1'' connectors (art. 2758)
• the GARDENA connectors 25 mm x 1'' male thread (art. 2763)
In case of an installation below ground, we also recommend using the valve shaft (art. 1290) to have
better access to the pressure regulator.
4
5
6
140°
6
13
finger-tight onto the pressure regulator
6
, the filter
,
,
pointing upwards.
6
2
3
4
correctly in the direction of the water flow indicated by
5
.
5
of the irrigation system to the connectors (art.
7
into the connectors
by 6 cm.
7
6
Example of a sprinkler system containing a pressure regulator installed below ground:
7
1.2.1 To perform a test run
Before installing the irrigation system below ground, we recommend that you carry out a test run
above ground:
1. Lay out the irrigation system above ground.
2. Cut the connecting pipes to the required length.
3. Install the irrigation system above ground.
4. Open the water supply to check the irrigation system for leaks.
If the irrigation system is tight, you can install it below ground.
If the irrigation system is not tight, check that all connections are made correctly, e.g. that the con-
necting pipes are inserted into the connectors as far as they will go.
1.2.2 To install the system below ground
.
5
1. Prepare the hole in the ground that will receive the valve shaft.
Make sure that the hole is approximately 31 cm deep (the height of the valve shaft plus the layer of
coarse gravel).
2. Fill coarse gravel
the valve shaft
5
7
11
on a surface of approx. 20 x 20 x 8 cm at the place where you want to install
11
.
10
7
5
