Gardena 1242 Gebruiksaanwijzing - Pagina 4
Blader online of download pdf Gebruiksaanwijzing voor {categorie_naam} Gardena 1242. Gardena 1242 15 pagina's. Programming unit
Ook voor Gardena 1242: Gebruiksaanwijzing (15 pagina's), Gebruiksaanwijzing (15 pagina's)

Automatic energy-saving
stand-by mode
4. Putting into Operation
Stick programming aid sticker
onto Programming Unit :
Stick self-adhesive label
onto Control Units :
Insert the battery in the
Programming Unit :
A
7
9
0
8
6
Insert the battery in the
Control Unit :
E
D
Battery condition in the Control Unit :
If the battery capacity is exhausted while the Control Unit is con-
nected, then the symbol Batt. ext. will start to blink as soon as
data has been transferred (Read) and continues blinking until
the Control Unit is disconnected from the Programming Unit.
The battery of the Control Units must be changed.
If the battery is not replaced and the Control Unit is connected
to an Irrigation Valve, no watering programmes will be executed.
Manual watering using the
longer possible.
If left idle for 2 minutes, the Programming Unit switches to stand-
by mode and blanks the display. The image returns after any key is
touched. The main level is shown (time and weekday).
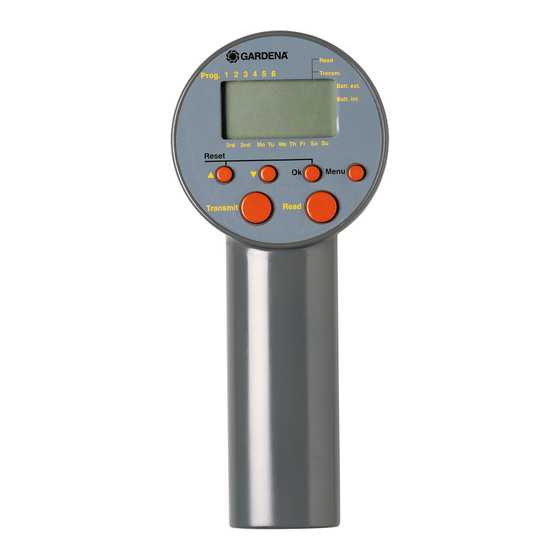
A programming aid in the form of a sticker is supplied with the
Programming Unit.
v Stick the programming aid sticker onto the opposite side of the
handle to the battery compartment.
v Label the Control Units with the self-adhesive labels (1 to 12).
This ensures that the Control Units match the Control Units
on the watering plan.
Before programming, you must insert a 9 V monoblock battery
in both the Programming Unit and the Control Unit.
1. Slide down the cover
necessary remove the flat battery.
2. Insert the new battery
the + / – markings in the battery compartment
8
battery
).
8
3. Press the battery
The battery contacts
4. Close the battery compartment
into place.
Inserting a new battery resets the unit. The time is set to
and the day is not set.
You must now set the time and day (Refer to 5. Operation
"Setting Time and Day" ).
B
1. Insert the battery
(according to + / – markings in the battery
C
compartment
and on the battery
B
2. Press the battery
C
compartment
.
The battery contacts
E
springs
.
The Control Unit is now ready for use.
key of the Control Unit is no
6
on the back of the handle
8
in the correct position (according to
into the battery compartment
0
touch the contact springs
9
by sliding the cover
TIME
and
0
for hours flash on the display.
in the correct position
B
).
into the battery
D
touch the contact
7
and if
9
and on the
9
.
A
.
6
back
0 : 00
B
C
15
