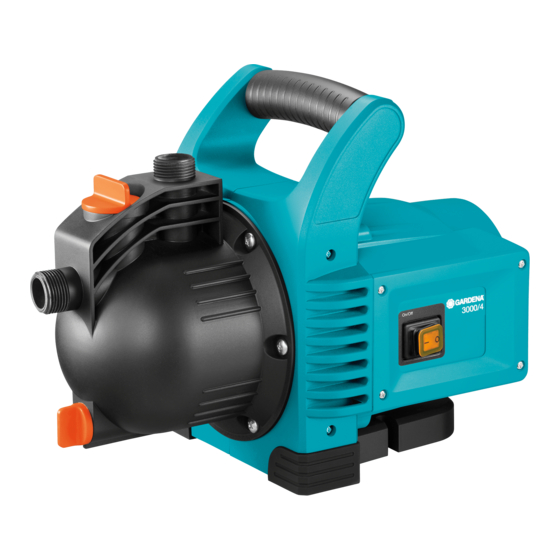
3. OPERATION
Filling the pump [ Fig. O1 / O2 ]:
DANGER! Electric shock!
Risk of injury due to electric shock.
v Disconnect from the mains before filling the
Garden Pump.
CAUTION!
v Before each operation, slowly fill the pump
with liquid to be pumped until it overflows
(approx. 2 to 3 l).
6
1. Twist off the cover
on the filler
ß
nying key
anti-clockwise.
k
2. Fill the pump via the filler cap
approx. 2 to 3 l of the liquid to be pumped.
6
3. Twist on cover
with the key
stop
<
(do not over-twist).
4. Open any shut-off valves in the delivery line (accesso-
ries, water stop, etc.).
5. Drain remaining water in pressure hose
can escape during the suction process.
6. Switching on pump 4000/5:
Lift and hold the delivery hose
above the pump, press the On/Off switch
switch shines) and wait until the pump has primed.
v If the pump does not deliver after approx.
5 minutes, switch off the pump (press On/Off
switch
8
) (see 6. TROUBLESHOOTING).
6. Switching on pump 5000/5; 6000/6 inox
[ Fig. O3 / O4 ]:
Lift and hold the delivery hose
above the pump, insert the power plug, press the
ß
On/Off button
(the LED shines green) and wait until
8a
the pump has primed.
If the pump does not deliver within approx. 20 sec
onds, the LED flashes orange.
If the pump does not deliver: 5000/5 within approx.
5 minutes / 6000/6 inox within approx. 6 minutes,
the LED shines red and the pump switches off
auto matically (see 6. TROUBLESHOOTING).
v If the pump does not automatically switch off
then manually switch the pump off and check the
hose for leaks.
4. STORAGE
To put into storage [ Fig. S1 ]:
Before the start of the frost period the Garden Pump
should be stored protected from frost.
1. Open the water drain screw
The Garden Pump drains.
2. Store your Garden Pump so that it is protected from
frost.
7
with the accompa-
7
to overflowing with
ß
clockwise only to the
k
5
so that air
5
at least 1 m vertically
8
(On/Off
5
at least 1 m vertically
9
.
The specified maximum self-priming suction height of 8 m
is reached only if the pump is filled via the filler neck
to the overflow and if, while doing so and during the self-
5
priming, the delivery hose
prevent any flow medium escaping from the pump via the
delivery hose
5
.
Special mode:
Additional electrical switching devices (e. g. remote
control systems, pressure switches) can be used only
in the special mode.
Activating the special mode:
1. When switching on, press the On/Off button
8 seconds.
During the first 5 seconds, the green LED is illuminated;
then the LED blinks for 3 seconds.
2. When the green LED illuminates again after 8 seconds,
let go of the On/Off button
Deactivating the special mode:
1. Plug the mains plug into an energised mains socket.
The pump starts of its own accord.
2. Press the On/Off button
3. When switching on, keep the On/Off button
depressed for 8 seconds until the green LED no
longer flashes.
safe-pump-function:
The safepump function uses the LED status display to
alert the user that there is no water flow. In addition, it acts
as DryRunning Safety, guarding against pump damage
if the delivery side is closed too long (e.g. closed valves) or
if the water supply fails (e. g. empty cistern).
LED flashes green:
Normal operation
LED flashes orange: No water flow for at least
20 seconds
LED shines red:
No water flow for at least
5 minutes (pump has switched
off automatically)
LED flashes red:
Alarm! Pump was started
3 times within 20 min. without
water flow. (Pump can no
longer be started for 5 min.
to allow cooling, after
which the LED shines red)
Disposal:
(in accordance with RL2012/19/EC)
The product must not be disposed of to normal
household waste. It must be disposed of in line
with local environmental regulations.
IMPORTANT!
Dispose of the product through or via your municipal
recycling collection centre.
7
is held up sufficiently high to
ß
for
8a
ß
.
8a
ß
. The pump switches off.
8a
ß
8a
up
13

