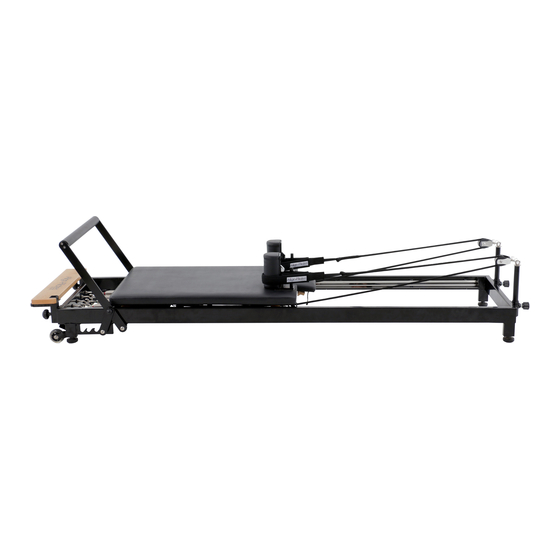
Align-Pilates H1 Reformer Montagehandleiding - Pagina 7
Blader online of download pdf Montagehandleiding voor {categorie_naam} Align-Pilates H1 Reformer. Align-Pilates H1 Reformer 10 pagina's.

7. Working with springs
The H1 is fitted with 4 springs in 3 strengths to offer a wide range of possible resistances. Green = Strong x
1, Red = Medium x 2, Blue = Light x 1. The springs can be used in any combination, although when
using the reformer for asymmetric exercises, please ensure the springs selected are on the same side you
are working on, or set equally in the middle, to ensure the carriage runs true. E.g. when doing a hip flexor
stretch with one foot on the floor and the other on the shoulder rest.
8. Adjusting the rope length
Once your ropes are set up as outlined in point 4, fine tuning the rope length is easy. Simply move the
rope along the hooks. When the rope is not on any hooks it is at its longest (Fig. 14 B) and when the rope is
over the centre hook it is at its shortest (Fig. 14 A). There are 5 available rope lengths adjustment positions.
9. Standing & Storing your Reformer
The H1 reformer has legs to allow it to stand up for space saving storage. Warning: The
reformer should only be stood on resilient, level floors in locations where it
cannot be accessed by children or risk being knocked over by other activities.
First, make sure the foot bar is in the 2nd lowest position and all the springs are attached.
Next, remove the locking pins for the standing feet, then using correct lifting technique,
lift the reformer from the rope riser end (use 2 people if you are not comfortable lifting a
weight of around 25Kg - we do not recommend anyone with back problems lifting the
reformer). Before the reformer reaches vertical the rubber feet under the standing
platform will engage. At this point use your foot to fully open each of the two standing
legs. Once the standing legs are fully open, the reformer will stand freely and you can
reinsert the locking pins to prevent the standing legs from
accidentally closing. To put the reformer back on the floor, first remove the locking pins.
Then, facing the "underneath" of the reformer, slightly raise the frame toward vertical
and again with your feet shut the standing legs and then gently lower the reformer to the
ground. Again if you are unsure about this process familiarise yourself by doing it with
another person.
10. Moving your Reformer
The H1 reformer has wheels which will engage when the rope riser end of the reformer is
lifted to around 20 degrees, it can then be wheeled around easily. Care should be taken
when lifting as the weight is approximately 25Kg and correct lifting technique is essential.
11. Periodic Maintenance
Always check the apparatus before first use and again after each of the first few uses, to check all the
fittings are securely fastened. Thereafter, it is important to make regular maintenance checks. Equally
inspection should be made immediately if any part appears not be operating correctly or if something
appears to be loose. Below follows a basic maintenance guide though our detailed maintenance guide
and a sample maintenance log can be downloaded from
sources
• Springs & Spring Clips
Inspect all springs for signs of wear, look for deformation, kinks, gaps and corrosion. Springs showing
signs of damage must not be used and must be replaced immediately. Springs must be replaced
every 2 years or after 3,000 hours, whichever is first.
• Hardware
Ensure that all nuts and bolts are securely fastened.
Fig.14
https://www.mad-hq.com/align-pilates-re-
Fig.15
5
