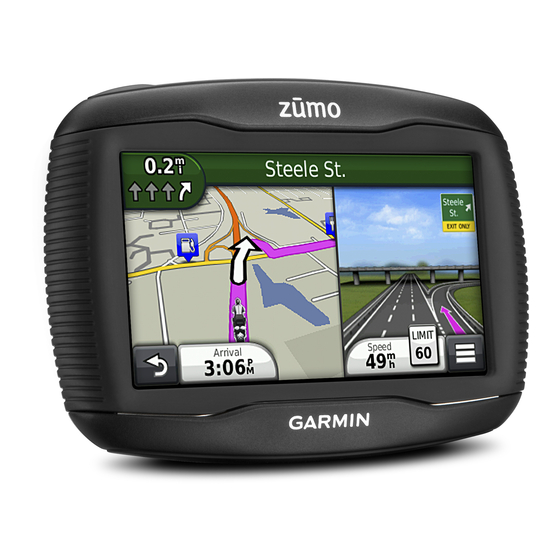
Garmin zumo 300 Series Gebruikershandleiding - Pagina 7
Blader online of download pdf Gebruikershandleiding voor {categorie_naam} Garmin zumo 300 Series. Garmin zumo 300 Series 24 pagina's. Declaration of conformity
Ook voor Garmin zumo 300 Series: Gebruikershandleiding (24 pagina's), Snelstarthandleiding (4 pagina's), Handleiding voor installatie-instructies (46 pagina's), (Frans) Conformiteitsverklaring (5 pagina's)

7
Fit the bottom of your device into the cradle.
8
Tilt the device back until it snaps into place.
TIP: Press on the logo at the top of the device while holding
the tab at the top of the cradle.
9
Plug the other end of the automotive power cable into a
power outlet.
Support and Updates
Garmin ® Express provides easy access to these services for
your device.
• Product registration
• Software and map updates
• Product manuals
• Vehicles, voices, and other extras
Setting Up Garmin Express
1
Plug the small end of the USB cable into the port on the
device.
2
Plug the larger end of the USB cable into an available USB
port on your computer.
3
Go to www.garmin.com/express.
4
Follow the on-screen instructions.
nüMaps Guarantee™
Your device may be eligible for a free map update within 90
days of first acquiring satellites while driving. Go to
www.garmin.com/numaps
About nüMaps Lifetime™
Models with "LM" after the model number include subscriptions
to nüMaps Lifetime, which provides quarterly map updates for
the life of your device. For terms and conditions, go to
http://www.garmin.com/numapslifetime.
NOTE: If your device does not include a subscription to nüMaps
Lifetime, you can purchase one at
/numapslifetime.
Entering and Exiting Sleep Mode
You can use sleep mode to conserve battery power when your
device is not in use. While in sleep mode, your device uses very
little power and can wake instantly for use.
TIP: You can save power by putting the device in sleep mode
while charging the battery.
Press the power key
.
Turning Off the Device
1
Hold the power key until a prompt appears on the screen.
The prompt appears after five seconds. If you release the
power key before the prompt appears, the device enters
sleep mode.
2
Select Off.
Getting Started
for terms and conditions.
http://www.garmin.com
Resetting the Device
You can reset your device if it stops functioning.
Hold the power key for 10 seconds.
Adjusting the Screen Brightness
1
Select Settings > Display > Brightness.
2
Use the slider bar to adjust the brightness.
Adjusting the Volume
1
Select Volume.
2
Select an option:
• Use the slider bar to adjust the volume.
• Select
to mute the device.
• Select
for additional options.
Status Bar Icons
The status bar is located at the top of the main menu. The
status bar icons display information about features on the
device. You can select some icons to change settings or view
additional information.
GPS signal status.
Bluetooth ® technology status (appears when Bluetooth is
enabled).
Transportation mode indicator.
Current time.
Battery status.
Acquiring GPS Signals
To navigate with your device, you must acquire satellites.
the status bar indicates the satellite signal strength (see
page
3). Acquiring satellites can take several minutes.
1
Turn on the device.
2
If necessary, go outdoors to an open area, away from tall
buildings and trees.
3
If necessary, hold
to view detailed information about the
satellite signals.
Viewing GPS Signal Status
Hold
for three seconds.
Transportation Modes
Motorcycle mode
Automobile mode
Off-road mode (See
Routing and navigation are calculated differently based on your
transportation mode.
Choosing a Transportation Mode
Select
.
Battery Information
After the device is connected to power, it begins to charge.
in the status bar indicates the status of the internal battery.
To increase the accuracy of the battery gauge, you should fully
discharge the battery and then fully charge it. Do not unplug the
device until it is fully charged.
Setting the Time
NOTE: You can select Automatic to automatically set the time
each time the device is powered on.
1
Select
.
2
Scroll the numbers to set the time.
page
8)
in
3
