Garmin nuvi 205W Series Snelstarthandleiding - Pagina 14

Blader online of download pdf Snelstarthandleiding voor {categorie_naam} Garmin nuvi 205W Series. Garmin nuvi 205W Series 27 pagina's. Garmin gps receiver user manual
Ook voor Garmin nuvi 205W Series: Snelstarthandleiding (17 pagina's), Gebruiksaanwijzing Supplement (8 pagina's), Snelstarthandleiding (9 pagina's), Snelstarthandleiding (19 pagina's), Veiligheid en productinformatie (32 pagina's), Snelstarthandleiding (17 pagina's), Productinformatie (4 pagina's), Conformiteitsverklaring (1 pagina's), Snelstarthandleiding (20 pagina's), Snelstarthandleiding (30 pagina's), (Duitse) Beknopte handleiding (17 pagina's)
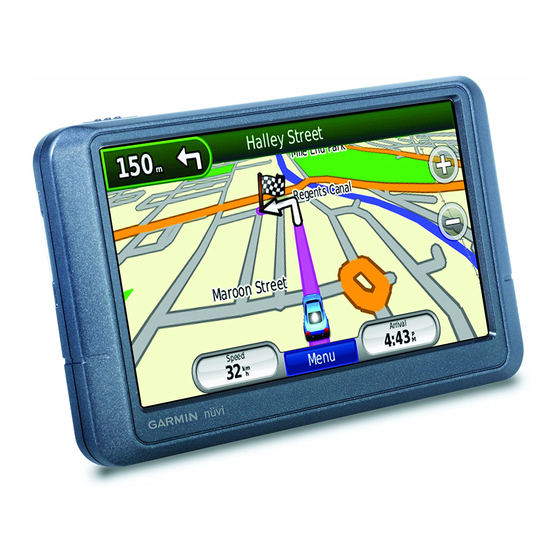
Garmin nuvi 205W Series Snelstarthandleiding
Caring for Your nUvi
Your niivi contains sensitive electronic
components that can be pennanently
damaged if exposed to excessive shock
or vibration. To minimize the risk of
damage to your niivi, avoid dropping
your niivi and operating it in high-shock
and high-vibration em ironments.
• Do not store the niivi where prolonged
exposure to extreme temperatures can
occur, because it can cause pennanent
damage.
• Do not expose the niivi to water.
Contact with water can cause the niivi
to mal function.
• Never use a hard object or a sharp
object to operate the touch screen or
damage may result.
Cleaning Your nUvi
Your niivi is constmcted of high-quality
materials and does not require user
maintenance other than cleaning. Clean
the outer ca ing of the niivi (not the
touch screen) using a cloth dampened
End
~Piece
:.....- Silver
¥
tiP
Fuse
4. Place the suction cup mount on top of
the disk. Flip the lever down (toward
the disk).
Changing the Fuse
CAUTIO!\':
When replacing the fuse.
do not
10
e an) of the small pieces
and make sure they are put back in the
proper place.
(fyour nih i will not charge in your
vehicle, you may need to replace the fuse
located at the tip of the vehicle adapter.
1. Unscrew and remove the silver or
black round end piece.
2. Remove the fuse
' .Unscrew
(glass and silver
cylinder) and replace
with a 1A-fast blow
fuse.
3. Ensure that the silver
tip is placed in the end
piece. Screw on the
end piece.