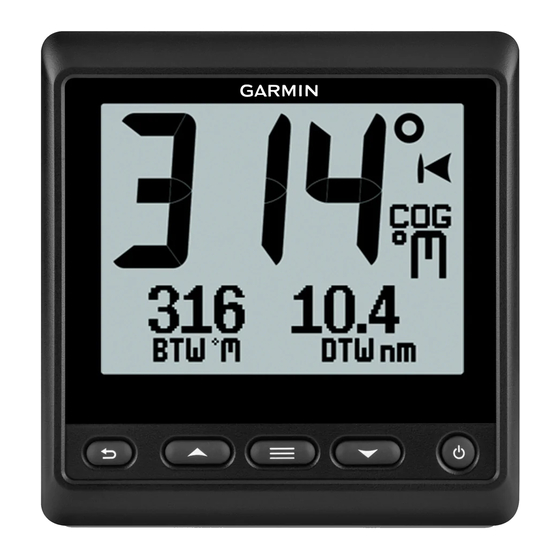
Garmin GNX 20 Gebruikershandleiding - Pagina 5
Blader online of download pdf Gebruikershandleiding voor {categorie_naam} Garmin GNX 20. Garmin GNX 20 10 pagina's. Gps navigation
Ook voor Garmin GNX 20: Gebruikershandleiding (10 pagina's), Installatie-instructies (4 pagina's), Installatie-instructies (4 pagina's), Installatie-instructies (4 pagina's)

Introduction
See the Important Safety and Product Information guide in the
product box for product warnings and other important
information.
Device Overview
NOTE: Certain functions are available only when the
appropriate sensors are connected to the device.
The marine instrument allows you to view data sources from
sensors through a NMEA
®
The instrument can also receive data from Nexus
and sensors using a GND
™
Select to return to the previous menu or to the instrument
page.
Select to view the menu for an instrument page.
or
Select to scroll through instrument pages and menus.
Select to view the display settings.
Select twice to view the backlight settings.
Hold to view the power-off settings.
Using the Race Timer
You can use the race timer to count down to a race, and then
measure the duration of the race. You can add the race timer as
a data field on a page.
TIP: To quickly open the race timer screen, hold
page.
1
From a page with the race timer active, select
CONFIGURE DATA FIELDS > RACE TIMER SETTINGS.
2
Select an option:
• When the device is in prerace mode and is stopped or
running, select RESET, START, or SETUP.
• When the device is in prerace mode and is running, sync
the timer to the next minute up or the next minute down, or
select STOP.
• When the device is in race mode and the race timer is
counting up, sync the timer back to 0:00, or select STOP.
Profiles
Profiles are collections of instrument pages that can be
customized. Profiles can be made up of instrument pages that
display similar data, such as GPS speed information and GPS
course information.
Introduction
WARNING
0183 network.
instruments
®
10 device (sold separately).
from a main
>
During the initial setup, you can select a preset profile, or you
can create a custom profile. You can select a different profile at
any time.
POWERBOAT: This profile displays instruments useful when in
a powerboat. Available default instruments include GPS
speed information, GPS course information, depth, bearing to
waypoint, distance to the next waypoint, and water
temperature.
SAIL CRUISE: This profile displays instruments useful when
cruising in a sailboat. Available default instruments include
true wind speed, GPS speed information, GPS course
information, bearing to waypoint, distance to the next
waypoint, true wind angle, and depth.
SAIL RACE: This profile displays instruments useful when
racing in a sailboat. Available default instruments include
GPS speed information, true wind speed, true wind angle,
heading, bearing to waypoint, and distance to the next
waypoint.
CUSTOM: This profile allows you to customize the page to
display instruments useful to your specific boating needs.
The default page displays speed over ground information.
Selecting a Profile
1
Select
> SETUP > PROFILES.
2
Select a profile.
Restoring Profiles to their Default Settings
You can restore profiles to their factory default settings.
1
Select
> SETUP > PROFILES > RESET DEFAULTS.
2
Select CURRENT PROFILE or ALL PROFILES.
Instrument Pages
Cycling Through Instrument Pages
From the home page, select
Using Auto Scroll
You can use auto scroll to move through all of the instrument
pages automatically.
1
Select
.
2
Select SETUP > AUTO SCROLL.
3
Select the length of time the device displays each instrument
page.
NOTE: Setting the time to zero disables the auto scroll
feature.
Configuring the Data Fields
Data provided on an instrument page can be shown in various
ways depending upon the instrument page that is displayed.
Select
> CONFIGURE DATA FIELDS.
Configuring Graph Data Fields
Some instrument pages display graph data. You can configure
the data that displays on the graphs.
1
From the instrument page, select
FIELDS > GRAPH SETTINGS.
2
Select an option:
• To determine how long the graph data displays, select
GRAPH DURATION.
• To configure the scale of values displayed in the graph,
select GRAPH SCALE.
or
.
> CONFIGURE DATA
1
