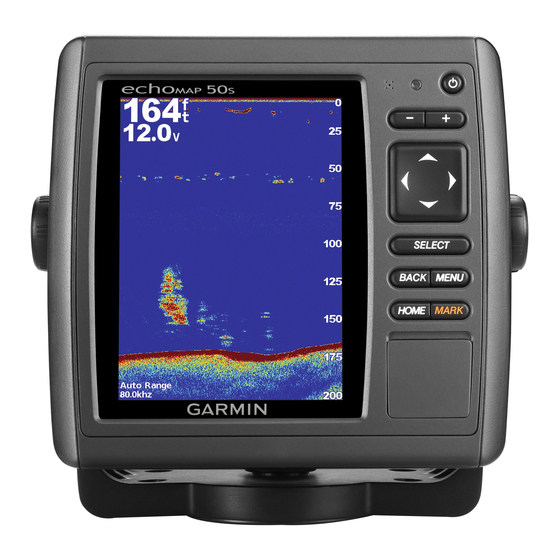
Bail Mounting a Five-Inch Device with a Swivel Base
Only pan-head machine bolts or self-tapping screws should be
used to secure the swivel base. If you use screws with
countersunk heads, you may damage the mounting bracket.
The five-inch devices have the option of adding a swivel to the
bail mount. The swivel base allows for the routing of cables
through the mounting surface (optional).
1
Using the swivel base as a template
holes
.
2
If you are routing the cables through the mounting surface,
mark the location directly in the middle of the three pilot
holes (optional).
1
3
Using a
/
in. (3 mm) drill bit, drill the three pilot holes.
8
4
If you are routing the cables through the mounting surface,
drill a 1 in. (25.4 mm) hole in the middle of the three pilot
holes (optional).
5
If you are routing the cables through the mounting surface,
route them through the hole you drilled in step 5, and extend
enough slack so that the connectors will reach the device
after it is mounted (optional).
6
If you are routing the cables through the mounting surface,
route them through the holes
mount bracket (optional).
7
Using the included screws
mounting surface.
8
Place the bail-mount bracket
secure it using the swivel-mount knob
9
Install the bail-mount knobs
10
Place the device in the bail mount bracket and tighten the
bail-mount knobs.
11
If you routed the cables through the mounting surface, apply
marine sealant over the holes in the back of the swivel mount
bracket (optional).
2
NOTICE
, mark three pilot
in the back of the swivel-
, secure the swivel base to the
on the swivel base, and
.
on the sides of the device.
Bail Mounting a Seven-Inch Device
If you are mounting the bracket on fiberglass with screws, it is
recommended to use a countersink bit to drill a clearance
counterbore through only the top gel-coat layer. This will help to
avoid any cracking in the gel-coat layer when the screws are
tightened.
Stainless-steel screws may bind when screwed into fiberglass
and overtightened. Garmin recommends applying an anti-
galling, stainless anti-seize lubricant to the screws before
installing them.
You can use the included bracket to bail mount the device on a
flat surface. The bail-mount bracket for the seven-inch devices
allows for the routing of cables through the mounting surface
(optional).
1
Select the mounting hardware appropriate for your mounting
surface and for the bail-mount bracket.
2
Using the bail-mount bracket
holes
.
3
If you are routing the cables through the mounting surface,
mark a location in the middle of the four pilot holes (optional).
4
Using a drill bit appropriate for the mounting hardware, drill
the four pilot holes.
5
If you are routing the cables through the mounting surface,
drill a 1¼ in. (32 mm) hole in the middle of the four pilot holes
(optional).
6
If you are routing the cables through the mounting surface,
route them through the hole you drilled in step 5, and extend
enough slack so that the connectors will reach the device
after it is mounted (optional).
7
If you are routing the cables through the mounting surface,
route them through the holes in the back of the bail-mount
bracket (optional).
8
Using the selected mounting hardware
mount bracket to the mounting surface.
9
Install the bail-mount knobs
10
Place the device in the bail-mount bracket and tighten the
bail-mount knobs.
11
If you routed the cables through the mounting surface, apply
marine sealant over the holes in the back of the swivel mount
bracket (optional).
Flush Mounting the Device
Be careful when cutting the hole to flush mount the device.
There is only a small amount of clearance between the case
NOTICE
as a template, mark the pilot
, secure the bail-
on the sides of the device.
NOTICE

