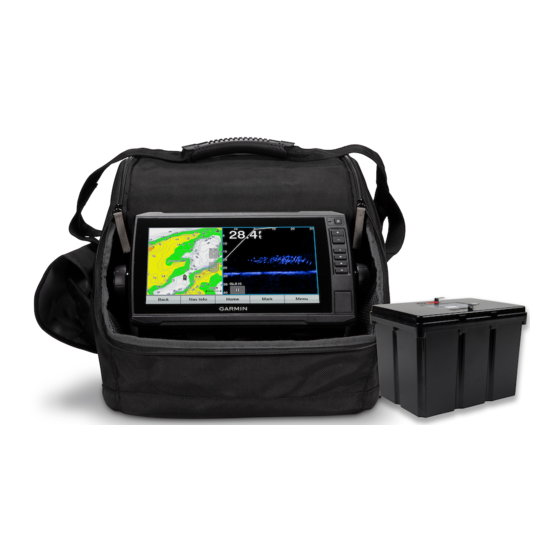
Garmin LIVESCOPE Handleiding voor installatie-instructies - Pagina 2
Blader online of download pdf Handleiding voor installatie-instructies voor {categorie_naam} Garmin LIVESCOPE. Garmin LIVESCOPE 6 pagina's.

• Do not operate or charge a battery that has been dropped or damaged in any way.
Charging the Battery
Do not connect any cables to the battery that are not approved for this battery by Garmin. Only use the included
all-in-one cable and charger to charge the battery.
Ensure that you connect the correct connector to the correct battery terminal. Damage to the battery or device,
or bodily harm may occur if the device is improperly connected to the battery.
1 Remove the battery terminal covers.
2 Connect the red and black spade connectors from the all-in-one cable onto the corresponding battery
terminals.
3 Remove the charger port cap on the all-in-one cable.
4 Connect the all-in-one cable to the charger.
5 Connect the charger to a power outlet.
6 Check the status of the LED on the charger.
LED Color
Status
Green
Outside of charging temperature range or fully charged
Red
Charging
NOTE: Battery connections may be reversed. Disconnect the charger from the wall outlet and
Red blinking
battery power cable immediately. Correct the battery connections.
If the indicator LED is red, the battery is charging. It takes up to 8 hours to fully charge a fully discharged battery,
depending on the internal battery temperature.
When the indicator LED is green, the battery is fully charged or outside of the charging temperature range. The
battery charges when it is within the charging temperature range of 10° to 45°C (50° to 113°F).
NOTE: If the indicator LED is blinking red, disconnect the charger from the wall outlet and the battery power
cable. Correct the battery connections by reconnecting the spade connectors to the correct battery terminals.
During long term storage, charge the battery every 6 months to maintain peak performance.
Assembling the Panoptix
You need a Phillips screwdriver and the included 5 mm hex wrench to assemble the ice fishing pole mount and
attach the transducer.
1 Insert the Phillips head sheet metal screws into the four corners of the ice mount base.
The screws protrude from the bottom of the base to help stabilize the mount when it is on the ice.
2 Locate the handle and the top pole segment.
2
WARNING
Ice Fishing Pole Mount
™
