Brother Business Smart MFC-J4510dw Snelstarthandleiding - Pagina 7

Blader online of download pdf Snelstarthandleiding voor {categorie_naam} Brother Business Smart MFC-J4510dw. Brother Business Smart MFC-J4510dw 29 pagina's. Quick setup guide - spanish
Ook voor Brother Business Smart MFC-J4510dw: Handmatig (36 pagina's), Handmatig (22 pagina's), Handleiding productveiligheid (17 pagina's), Handmatig (13 pagina's), Handmatig (22 pagina's), Handleiding voor snelle installatie (47 pagina's), Handmatig (18 pagina's), Handleiding voor snelle installatie (47 pagina's), Brochure & specificaties (4 pagina's), Handleiding productveiligheid (20 pagina's), Specificaties (2 pagina's), Handleiding voor snelle installatie (47 pagina's), Handleiding productveiligheid (25 pagina's), (Spaans) Handleiding voor Web Connect (38 pagina's), (Spaans) Handboek (24 pagina's), (Engels) Handleiding voor productveiligheid (16 pagina's), (Spaans) Handboek (11 pagina's), (Engels) Snelle configuratiegids (47 pagina's)
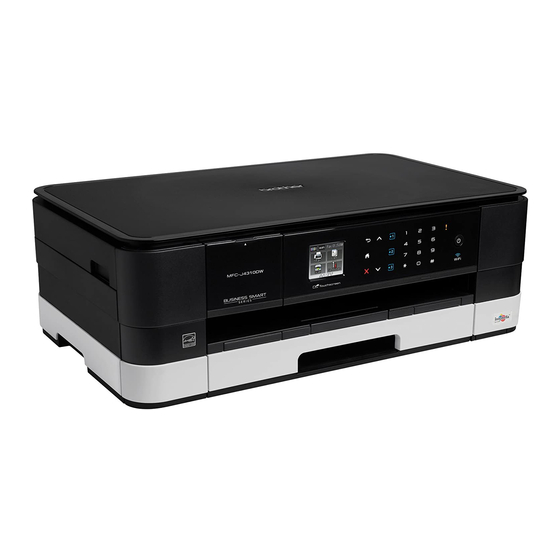
Brother Business Smart MFC-J4510dw Snelstarthandleiding
9

Set the date and time

a
Press
.
b
00:00 01.01.2012
Press
Time).
c
Press Date.
d
Enter the last two digits of the year on the
Touchscreen, and then press OK.
e
Repeat for month and day.
f
Press Time.
g
Enter the time on the Touchscreen in 24-hour
format.
h
Press OK, and then press
10
Enter personal
information (Station ID)
You should store your name and fax number to be
printed on all fax pages that you send.
a
Press
.
b
Press All Settings.
c
Swipe up or down, or press a or b to display
Initial Setup.
Press Initial Setup.
d
Press Station ID.
e
Press Fax.
f
Enter your fax number (up to 20 digits) on the
Touchscreen, and then press OK.
g
Press Name.
h
Enter your name (up to 20 characters) using
the Touchscreen, and then press OK.
i
Press
.
(Date and
.
11
Set Tone or Pulse dialling
mode
a
Press
.
b
Press All Settings.
c
Swipe up or down, or press a or b to display
Initial Setup.
Press Initial Setup.
d
Press Tone/Pulse.
e
Press Pulse (or Tone).
f
Press
.
12
Set the telephone line
type
a
Press
.
b
Press All Settings.
c
Swipe up or down, or press a or b to display
Initial Setup.
Press Initial Setup.
d
Swipe up or down, or press a or b to display
Phone Line Set.
Press Phone Line Set.
e
Press Normal, PBX or ISDN.
Press the desired telephone line type.
NOTE
If you choose PBX the machine will then ask you
to set the Dial Prefix. uuBasic User's Guide:
Setting the Telephone Line Type
f
Press
.
7