Brother DCP-7030 Handleiding voor snelle installatie - Pagina 19

Blader online of download pdf Handleiding voor snelle installatie voor {categorie_naam} Brother DCP-7030. Brother DCP-7030 32 pagina's. Quick setup guide - spanish
Ook voor Brother DCP-7030: Handleiding voor snelle installatie (20 pagina's), Handleiding voor snelle installatie (18 pagina's), Handleiding voor snelle installatie (19 pagina's), Handleiding voor snelle installatie (32 pagina's), (Engels) Snelle configuratiegids (20 pagina's)
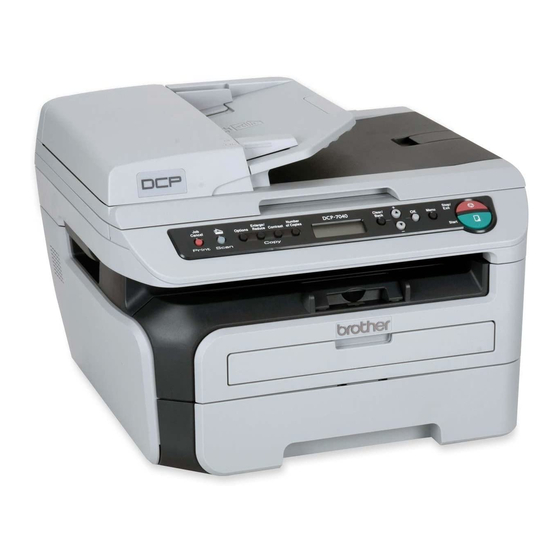
Brother DCP-7030 Handleiding voor snelle installatie
Installing the Driver & Software
For Wired Network Interface Users (DCP-7045N only)
2
(For Windows
Edition/Windows Vista
Important
Make sure that you have finished the
instructions from step 1 Setting Up the
Machine on pages 8 through 11.
Note
The supplied CD-ROM includes ScanSoft™
PaperPort™ 11SE. This software supports
®
Windows
2000 (SP4 or greater), XP (SP2 or
greater), XP Professional x64 Edition and
®
Windows Vista
only. Please update to the latest
®
Windows
Service Pack before installing
MFL-Pro Suite.
1
Turn off and unplug the machine from the AC
outlet.
2
Connect the network interface cable to the
machine, and then connect it to your network.
3
Plug the AC power cord into an AC outlet. Turn
the power switch on.
4
Turn on your computer. (You must be logged
on with Administrator rights.) Close any
applications running before installing the MFL-
Pro Suite.
Note
Before installation, if you are using personal
firewall software, disable it. After the installation,
restart your personal firewall software.
®
2000 Professional/XP/XP Professional x64
®
)
5
Put the supplied CD-ROM into your CD-ROM
drive. If the model name screen appears,
choose your machine. If the language screen
appears, choose your language.
6
The CD-ROM main menu will appear. Click
Install MFL-Pro Suite.
Note
• If this window does not appear, use Windows
Explorer to run the start.exe program from the
root folder of the Brother CD-ROM.
®
• For Windows Vista
, when the User Account
Control screen appears, click Allow.
®
Windows
®
17