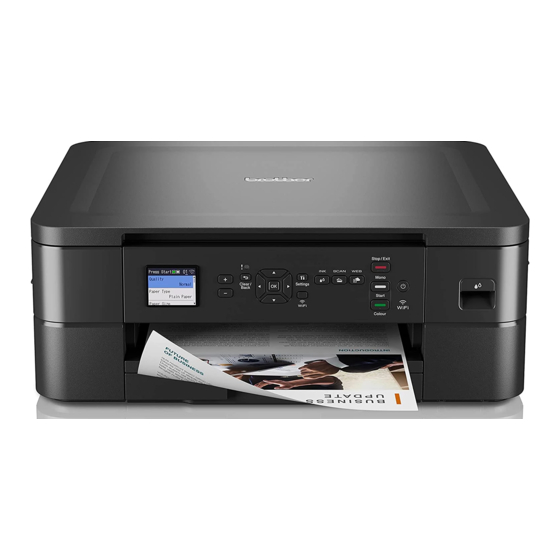
Brother DCP-J1140DW Handleiding voor snelle installatie
Blader online of download pdf Handleiding voor snelle installatie voor {categorie_naam} Brother DCP-J1140DW. Brother DCP-J1140DW 2 pagina's.

Quick Setup Guide
Read the Product Safety Guide first, then read this Quick Setup Guide for the correct installation procedure.
DCP-J1050DW
DCP-J1140DW
MFC-J1010DW
EN
1
Unpack the machine and check the components
Remove the protective tape or film covering the machine and the supplies. The components included in the box may differ depending on your country.
* Most of the illustrations in this Quick Setup Guide show the MFC-J1010DW.
2
Load plain A4 paper in the paper tray
3
Connect the power cord
5
Install the inbox ink cartridges
Open the ink cartridge cover and remove
the orange protective part from the
machine.
NOTE
Do not throw away the orange protective part.
You will need it if you transport the machine.
7
Check the print quality
Follow the LCD instructions,
and then press [OK] or c.
The machine prints the Print
Quality Check Sheet.
Video setup instructions:
support.brother.com/videos
1
Open the output paper tray
cover a.
NOTE
You can adjust the control panel angle
to read the LCD more easily.
OK
Poor
(DCP-J1050DW / MFC-J1010DW)
(DCP-J1140DW)
Follow the LCD instructions to
check the quality of the four
colour blocks on the sheet, and
then start the cleaning procedure
if required.
The latest manuals are available at the Brother support website:
support.brother.com/manuals
NOTE
• Save all packing materials and the box in case you must ship your machine.
• You must purchase the correct interface cable for the interface you want to use.
Use a USB 2.0 cable (Type A/B) that is no more than 2 metres long.
• Brother aims to reduce waste and save the raw materials and energy required for their production.
Read more about our environmental work at www.brotherearth.com.
After finishing the machine setup, you can change the paper type or size.
For more information about paper handling, see the Online User's Guide
at support.brother.com/manuals.
Adjust the paper guides.
Fan the paper well and load it
in the tray.
4
Select your country or language
After turning the machine on, you may need to set your country or language
(depending on your machine). If required, follow the LCD instructions.
Follow the LCD instructions to install the
ink cartridges. Close the ink cartridge
cover. The machine will prepare the ink
tube system for printing.
NOTE
The first time you install a set of ink cartridges,
the machine will use an amount of ink to fill the
ink delivery tubes for high-quality printouts.
This process will only happen once.
Adjust the print alignment (recommended)
8
To adjust the print alignment before using your machine, press [Start] or c.
Follow the LCD instructions
to print the Adjustment Sheet.
The black circle mark is
located in the upper left corner
of the sheet.
Close the output paper tray
Pull out the paper support a,
cover, and then slowly push
and unfold the paper support
the tray completely into the
flap b so that the printed
machine.
pages do not fall.
6
Set the date and time
Follow the LCD instructions to set the date
and time.
After setting the date and time, you can set
the Firmware Update defaults.
Place the Adjustment Sheet
face down on the scanner
glass.
Make sure the black circle
mark is in the upper left corner
of the scanner glass.
D01VTD001-00
UK
Version 0
2
1
Follow the LCD
instructions and
complete adjusting the
alignment.
When finished, remove
the Adjustment Sheet
from the scanner glass.
