If the Wiper Cleaner has not been examined for an extended period,
the cartridge may have any overflow of excess ink, which may spill as the
cartridge is removed. Remove the cartridge slowly being careful not to spill
any ink that may be present.
When you change Wiper Cleaner, examine the cap rubbers and wiper
blade. Use the swabs and wash solution from the Cap Cleaning Kit to clean
the edges of the cap rubbers and both sides of the wiper blade. Look for
any debris in the drain portal of each cap rubber. The maintenance section
in the manual explains how to perform the cleaning.
Waste Ink Cartridge
The Waste Cartridge has two sensors. The first detects that the Waste
Cartridge is present. The second sensor determines if the Waste Ink Car-
tridge is full. The sensor determines this by the weight of the cartridge.
Once the sensor detects that the Waste Cartridge is full, the Printer will
stop any action and display "waste cartridge full". The cartridge must be
changed at this point. Carefully remove the waste tray, and remove the
cartridge. Seal the opening of the Waste Cartridge with the white seal
(secured on the top of the waste cartridge). Place the new Waste Cartridge
into the metal tray; be certain that the openings at the end of the Waste
Cartridge seat into the two claws of the metal tray. Insert the tray into the
printer.
The Obstruction Sensor Flap
Check the front and back surface of the Obstruction Sensor Flap. The flap
may have collected ink spray, lint, or other debris during use. Garments
may have come into contact with the flap while it was entering or exiting
the printer. If the flap is dirty, wipe off any debris with a soft cloth moist-
ened with water. Examine the flap for any damage as well.
Flash Plate
When ink or dust collects on the top edge of the Flash Plate ("Spit Tray"),
the under surface of the print heads may touch the edges of the Flash Plate
during the head cleaning process; this may cause misfiring. Wipe the Flash
Tray with a soft cloth moistened with water.
PrINT & SeW
Platen Sheet
The surface of the platen sheet restricts any movement of the print medi-
um during the print process. Small mists of ink may pass through thin print
medium (T-Shirts). After numerous prints (thousands), the platen sheet may
become covered with dried ink and may allow some fabrics to slide on the
platen. The edges may start to peel after time as well. A new platen sheet
can be ordered by calling The PAS Store (877-850-7179) and ordering part
number SA5620101. If the worn platen sheet is difficult to remove, warm
the surface of the sheet with a hair dryer to loosen the adhesive tape.
T-shirt Tray
The T-Shirt Tray (under the platen), will collect dust, lint, and various
debris. Eject the platen and clean the tray on a regular basis.
Thank you for keeping GT-541 clean!
"
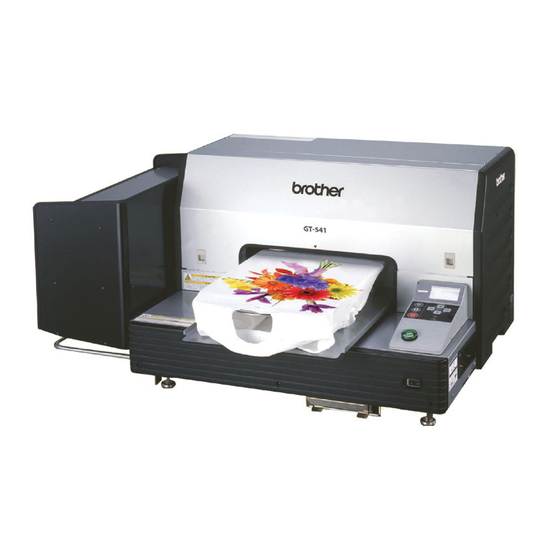
W e own a Brother GT-541
garment printer and it runs
completely on auto pilot. It's
a great machine and we've
had zero problems...
(continued from page 7)
"
John Anton
DesignAShirt.com - Tempe, AZ
Issue 7
•
Fall 2009

