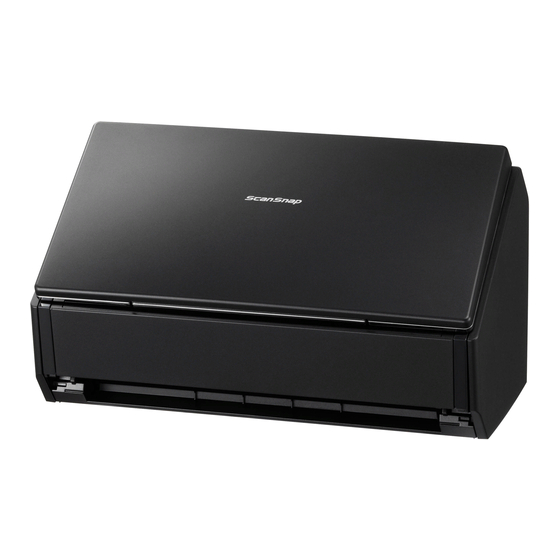
When the documents or photos are finished scanning an "All Applications" window appears on the
screen of the laptop.
Here is where you choose what kind of file your document or photo will save as.
Documents to PDF
If you have a document and you want to save it as a PDF click on "Scan to Folder"
The "Scan to Folder" window appears and gives you some options.
1: File Name; this allows you to name your PDF. The default name is todays date and a
sequential number.
2: Save in; this gives you the option to choose where to save the file to. The default is to
the documents folder on the desktop.
3: Click Save to save the document(s). Click "OK" when the "files were saved
successfully." message appears.
4: Open the "Documents-Shortcut" on the desktop and you should see a PDF with the
file name given to your scan.
Photos to image file
If you have a photo and want to save it as an image file click on "Scan to Picture Folder"
The "Scan to Picture Folder" window appears and gives you some options.
1: File Name; this allows you to name you photos. The default name is todays date and a
sequential number.
2: Save in; this gives you the option to choose where to save the file to. The default is
the pictures folder on the desktop.
3: Click Save to save the picture(s). Click "OK" when the "Files were saved successfully."
message appears.
4: Open the "Pictures-Shortcut" on the desktop and open the ScanSnap folder. You will
see all of your photos that you scanned. You will also notice you have the front and back of every
picture. If the scanner didn't detect any writing on the back of a photo it might not include it in the
folder.
Troubleshooting
If you encounter a jam a message will appear on the screen of the laptop. Open the scanner by
pulling on the little button above the blue light towards you.

