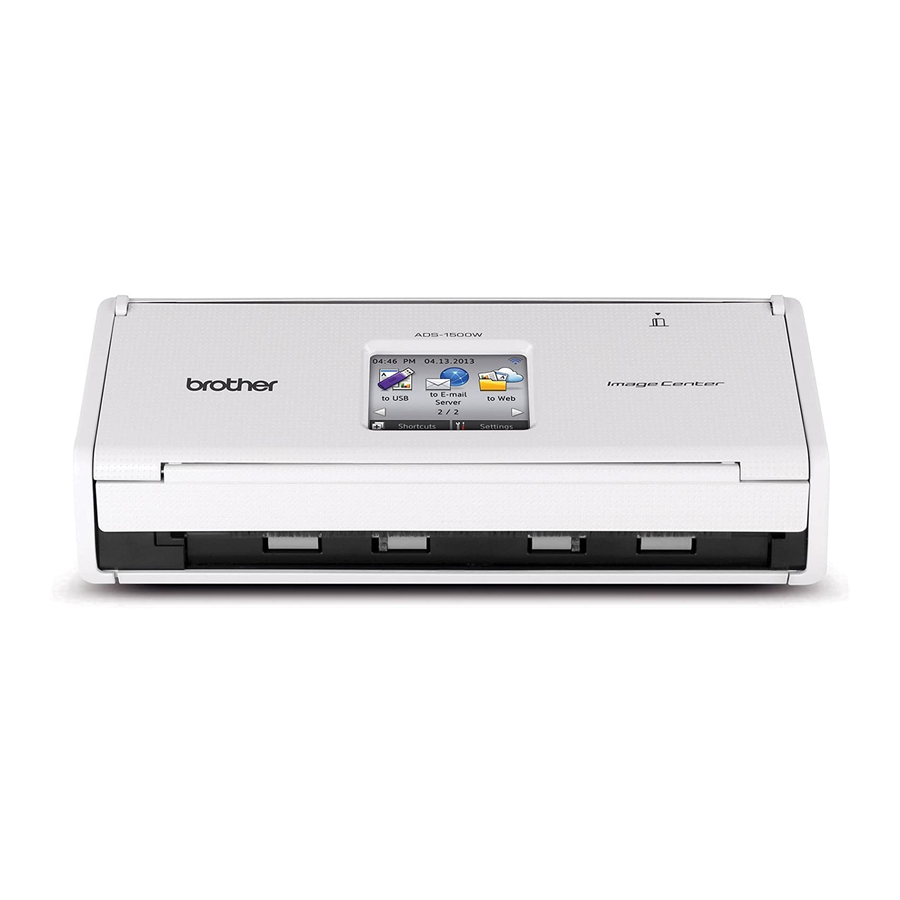
Brother ImageCenter ADS-1000w Handleiding voor snelle installatie - Pagina 8
Blader online of download pdf Handleiding voor snelle installatie voor {categorie_naam} Brother ImageCenter ADS-1000w. Brother ImageCenter ADS-1000w 35 pagina's. Compact document scanner high-speed color duplex desktop scanner with wireless networking
Ook voor Brother ImageCenter ADS-1000w: Specificaties (2 pagina's)

For Wireless Network Users
5
Setup using the
DVD-ROM and USB cable
(Windows
For Macintosh Users:
For Macintosh installation, insert the
DVD-ROM into your DVD-ROM drive and
double-click Start Here OSX. Select Wireless
installation and follow the Wireless Device
Setup instructions on your computer screen.
When setup is complete, go to step g on
page 10.
®
For Windows
Users:
a
Put the DVD-ROM into your DVD-ROM drive. If
the model name screen appears, choose your
machine. If the language screen appears,
choose your language.
NOTE
• If the Brother screen does not appear
automatically, go to Computer (My
Computer).
®
(For Windows
8: click the
icon on the taskbar, and then go to Computer.)
• Double-click the DVD-ROM icon, and then
double-click start.exe.
b
Click Install MFL-Pro Suite and click Yes if
you accept the license agreements.
NOTE
• For Windows Vista
®
Windows
8, when the User Account Control
screen appears, click Allow or Yes.
• Click Yes if you accept the license agreements.
8
®
and Macintosh)
(File Explorer)
®
®
, Windows
7 and
c
Choose Wireless Network Connection, and
then click Next.
d
When the Firewall/AntiVirus detected screen
appears, choose Change the Firewall port
settings to enable network connection and
continue with the installation.
(Recommended) and click Next.
e
Follow the on-screen instructions to set up the
Brother machine.
f
Your machine will now try to connect to your
wireless network. It may take a few minutes.
Wireless setup is now complete.
The Wi-Fi light
lights up, indicating that the machine's
Network I/F is set to WLAN.
To install MFL-Pro Suite
®
For Windows
users:
Now go to
Step g on page 9
For Macintosh users:
Now go to
Step g on page 10
on the Control Panel
