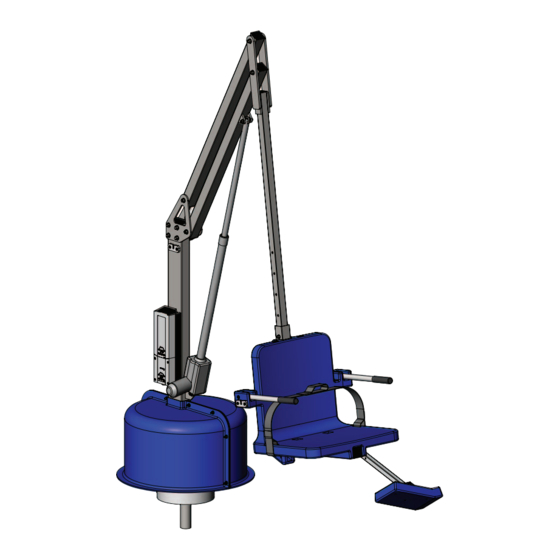
Aqua Creek Revolution Handmatig - Pagina 9
Blader online of download pdf Handmatig voor {categorie_naam} Aqua Creek Revolution. Aqua Creek Revolution 16 pagina's.
Ook voor Aqua Creek Revolution: Handmatig (14 pagina's)

STEP 6: INSTALL THE FOOTREST
Locate the FOOTREST ASSEMBLY and install it on
the seat as shown below. The QUICK RELEASE PIN is
attached to the SEAT ASSEMBLY with a lanyard (cable).
Pull out the pin and slide the FOOTREST ASSEMBLY
into the slot and line up one of the holes on the
FOOTREST TUBE with the hole for the pin. Push the
pin back into the hole and through the hole in the
FOOTREST TUBE to hold the FOOTREST ASSEMBLY
in the desired position. To re-adjust the FOOTREST
simply pull out the pin and select a new hole on the
FOOTREST TUBE.
STEP 6
SEAT
ASSEMBLY
Not Seated
Copyright © 2018 Aqua Creek Products All Rights Reserved
Revolution Assembly Instructions
QUICK
RELEASE
PIN
FOOTREST
TUBE
(ADJUSTABLE)
STEP 7: INSTALL 24V BATTERY & HANDSET
Locate the 24V battery, the battery charging unit
and the handset control. Charge the battery for 24
hours then install it on the bracket above the control
box as shown on PHOTO 7. Plug the handset control
into the control box as shown in the figure and in
the photos below. Press firmly to make sure the plug
is fully seated as shown below.
THE LIFT WILL NOT FUNCTION IF THE HANDSET
PLUG IS NOT FULLY SEATED OR IF THE BATTERY IS
NOT PROPERLY ALIGNED.
With the lift completely assembled, run the lift fully
out and back in 3-5 times, without weight, for the
lifts "break in" cycle period.
HANDSET
CONTROL
24V
BATTERY
CONTROL
BOX
Seated
STEP 7
9
Revised 11/30/18
