DeZurik APCO SRG-6500 Gebruiksaanwijzing - Pagina 6
Blader online of download pdf Gebruiksaanwijzing voor {categorie_naam} DeZurik APCO SRG-6500. DeZurik APCO SRG-6500 11 pagina's. Surge relief globe valves

DeZURIK
APCO SRG-6500 Surge Relief Globe Valves
Maintenance
(Continued)
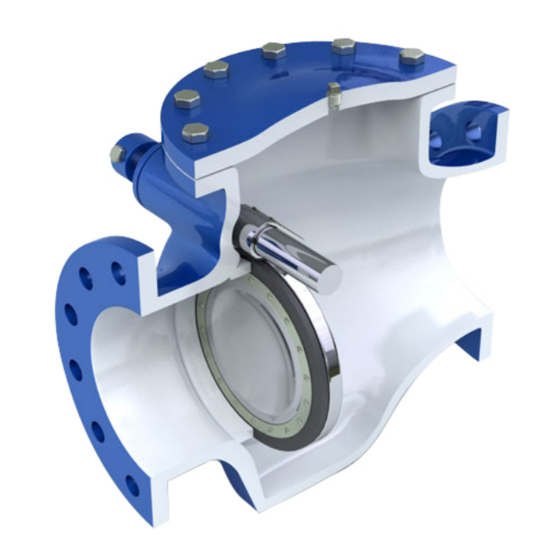
Assembly
1. If valve is removed from pipeline, set body standing on its inlet flange.
2. Install body seat seal (43) groove of body seat ring (5).
3. Install body seat ring (5) evenly inside the counterbore of the body (1) until it bottoms out.
4. Screw and tighten the body seat ring set screws (40) into the body seat ring (5).
5. Set disc (10) with seat side up, install disc seat (6) and disc seat retaining ring (31) and fasten
with disc seat retaining screws (32).
6. Connect disc arm (9) assembly to disc (10) by inserting disc pins (8) and secure with disc pin
retaining rings (41).
7. Set disc (10) and disc arm (9) assembly on top of body seat ring (43).
8. Slip the pivot shaft flanged bushing (12) on the pivot shaft (13) with the flanged side against
shaft (13) collar.
9. Insert pivot shaft key (33) in keyway on pivot shaft (13).
10. Install pivot shaft (13) from right side of body (1) through disc arm (9) until pivot shaft collar is
flush with body.
11. Insert pivot shaft straight bushing (11) into the body (1) at the other end.
12. Insert pivot shaft seal (17) and pivot shaft cover seal (18) in their respective grooves.
13. Insert pivot shaft seal retainer (37) on pivot shaft cover and install on both ends of pivot shaft
(13). Screw on pivot shaft cover screws (16).
14. Install gasket or O-ring (3) and cover (2), then fasten with cover screws (4).
15. Insert cushion lever key (33) on the pivot shaft (13) and position cushion lever (27) in line with
cylinder (20) and tighten set screw (35).
16. Connect cushion lever (27) to cylinder (20).
17. Insert counterweight arm key on pivot shaft (13) if provided and slip counterweight arm
assembly in place. Set arm at an angle approximately 25º - 30º below horizontal axis and
secure with lever arm bolts (55) and Nuts (56).
18. Install counterweight (29) at desired setting and secure with set screws (36).
D12020
Page 6
December 2012
