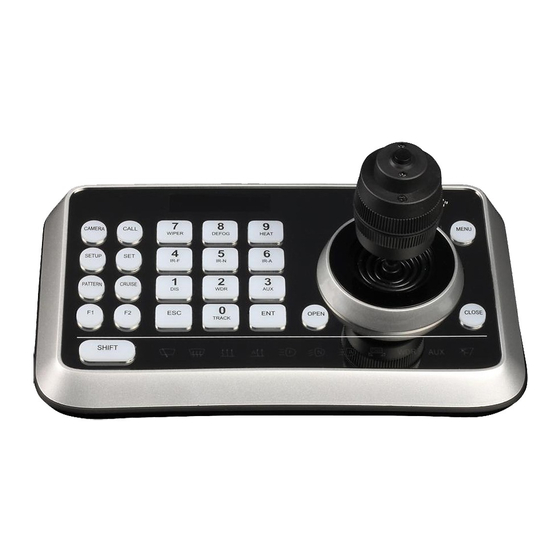
Avonic CM-CON100 Gebruikershandleiding - Pagina 7
Blader online of download pdf Gebruikershandleiding voor {categorie_naam} Avonic CM-CON100. Avonic CM-CON100 10 pagina's. Ptz camera controller
Ook voor Avonic CM-CON100: Gebruikershandleiding (12 pagina's), Gebruikershandleiding (13 pagina's), Gebruikershandleiding (11 pagina's), Gebruikershandleiding (16 pagina's)

Camera Setting
Camera ID
Protocol setting
Baud rate setting
Address Setting
Increment
The controller can also batch program cameras in the system. It will set the same baud rate,
protocol for the 10 cameras next to the current one while the cameras' address to be increased by
increment number sequentially. After step 5, press SHIFT to enter menu "INCREMENT:" Input a
number within 1~20, press ENT to confirm.
The address increment between two sequential cameras. For example, the current camera
address is 1 and the increment is 2, then the next camera address is 3.
Time Setting
Set time in 24 hour
format.
Volume Setting
Backlight Setting
Sleep Setting
PIN setting
www.avonic.eu
CAMERA SETTING
:
PROTOCOL:
PELCO D
BAUD RATE:
2400
ADDRESS: 1
INCREMENT:
TIME SETTING
10:52:59
VOLUME SETTING
BACKLIGHT MODE
SLEEP SETTING
PIN SETTING
7
Move up / down the
joystick, choose
"CAMERA SETTING"
0-255, use num keys,
press ENT to confirm
PELCO D/PELCO P
/VISCA
2400/4800/9600 /
19200/38400
0-255
1-20
OFF (switch off sound)
1~6 (6 levels from low
to high)
AUTO/ON/OFF
OFF/ 30S/ 1M/
5M/10M / 30M/60M
USER/ADMIN
