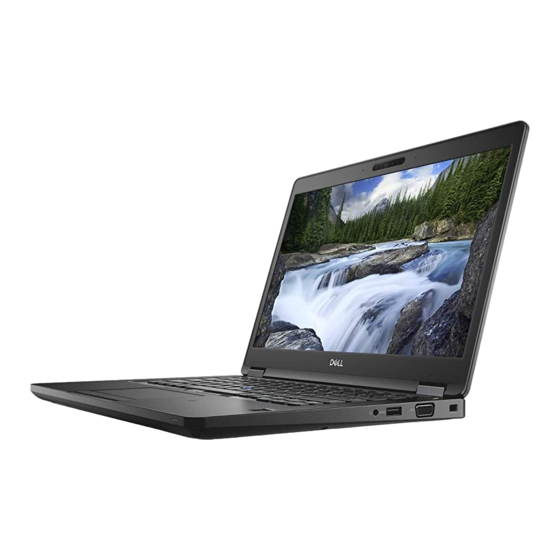
Dell Inspiron 5491 Installatiehandleiding - Pagina 7
Blader online of download pdf Installatiehandleiding voor {categorie_naam} Dell Inspiron 5491. Dell Inspiron 5491 15 pagina's. Solid state drive
Ook voor Dell Inspiron 5491: Handleiding voor instellingen en specificaties (37 pagina's), Instellingen en specificaties (20 pagina's), Handleiding voor instellingen en specificaties (33 pagina's)

Transporting sensitive components
When transporting ESD sensitive components such as replacement parts or parts to be returned to Dell, it is critical to place these parts in
anti-static bags for safe transport.
Lifting equipment
Adhere to the following guidelines when lifting heavy weight equipment:
CAUTION:
Do not lift greater than 50 pounds. Always obtain additional resources or use a mechanical lifting device.
1
Get a firm balanced footing. Keep your feet apart for a stable base, and point your toes out.
2
Tighten stomach muscles. Abdominal muscles support your spine when you lift, offsetting the force of the load.
3
Lift with your legs, not your back.
4
Keep the load close. The closer it is to your spine, the less force it exerts on your back.
5
Keep your back upright, whether lifting or setting down the load. Do not add the weight of your body to the load. Avoid twisting your
body and back.
6
Follow the same techniques in reverse to set the load down.
After working inside your computer
After you complete any replacement procedure, ensure that you connect external devices, cards, and cables before turning on your
computer.
CAUTION:
To avoid damage to the computer, use only the battery designed for this particular Dell computer. Do not use batteries
designed for other Dell computers.
1
Connect any external devices, such as a port replicator or media base, and replace any cards, such as an ExpressCard.
2
Connect any telephone or network cables to your computer.
CAUTION:
To connect a network cable, first plug the cable into the network device and then plug it into the
computer.
3
Connect your computer and all attached devices to their electrical outlets.
4
Turn on your computer.
Before you begin
7
