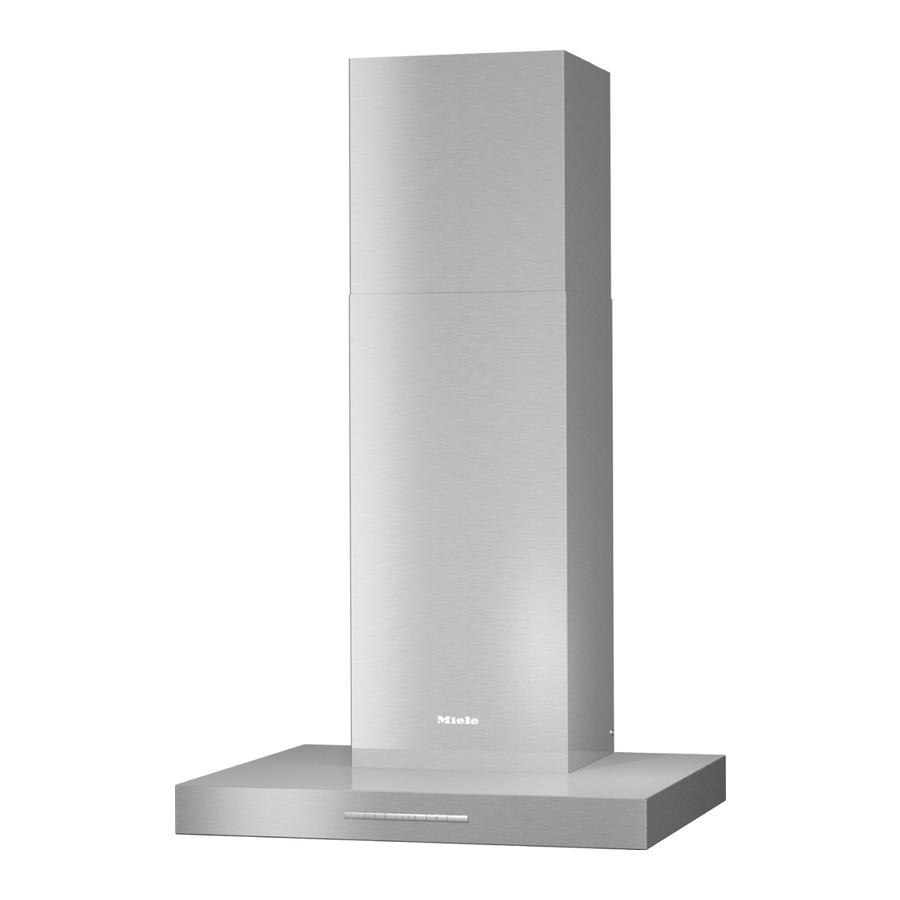
Miele PUR 98 W Bedienings- en installatie-instructies - Pagina 7
Blader online of download pdf Bedienings- en installatie-instructies voor {categorie_naam} Miele PUR 98 W. Miele PUR 98 W 40 pagina's. Ventilation system
Ook voor Miele PUR 98 W: Bedienings- en installatie-instructies (40 pagina's), Bedienings- en installatie-instructies (40 pagina's), Bedienings- en installatie-instructies (36 pagina's), Bedienings- en installatie-instructies (40 pagina's)

– a) SMOTHER FLAMES with a close fitting lid, cookie sheet, or
metal tray then turn off the burner. BE CAREFUL TO PREVENT
BURNS. If the flames do not go out immediately, EVACUATE AND
CALL THE FIRE DEPARTMENT.
– b) NEVER PICK UP A FLAMING PAN - You may be burned.
– c) DO NOT USE WATER, including wet dishcloths or towels - a
violent steam explosion will result.
– d) Use a fire extinguisher ONLY if:
– 1) You have a class ABC extinguisher, and you know how to operate it.
– 2) The fire is small and contained in the area where it started.
– 3) The fire department is being called.
– 4) You can fight the fire with your back to an exit.
*Based on "Kitchen Fire Safety Tips" published by NFPA.
The ventilation hood may become damaged if exposed to
excessive heat from a gas cooktop.
– When using the ventilation hood over a gas cooktop, ensure that
any burners in use are always covered by cookware. Turn burners
off when removing the cookware, even if doing so for just a short
time.
– Select cookware that is suitable for the size of the burner.
– Adjust the flame so that it never extends up the sides of the
cookware.
– Avoid overheating the cookware (e.g., when cooking with a wok).
Always turn the ventilation hood on whenever a burner is in use to
prevent damage from condensation.
Overheated oil and fat can ignite, causing fire damage to the
ventilation system.
Do not leave cookware, pans, and deep fryers unattended when
cooking with oil or fat. Similarly, never leave an open grill unattended
when grilling.
IMPORTANT SAFETY INSTRUCTIONS
7
