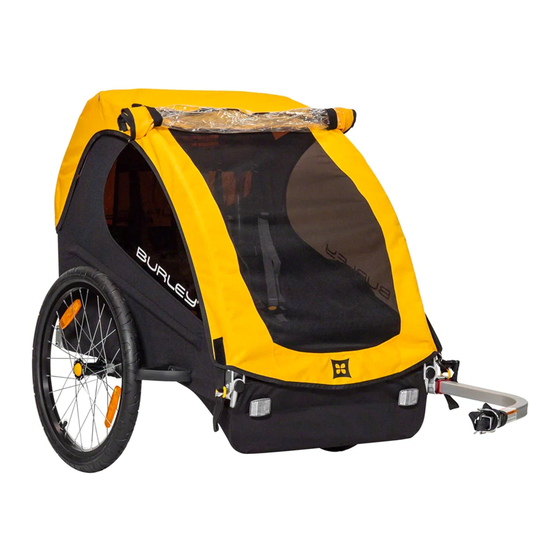
Burley Cub Gebruiksaanwijzing en veiligheidshandleiding - Pagina 4
Blader online of download pdf Gebruiksaanwijzing en veiligheidshandleiding voor {categorie_naam} Burley Cub. Burley Cub 8 pagina's. Child trailer
Ook voor Burley Cub: Gebruiksaanwijzing en veiligheidshandleiding (15 pagina's), Gebruiksaanwijzing en veiligheidshandleiding (20 pagina's), Gebruiksaanwijzing en veiligheidshandleiding (12 pagina's)

Observe Age and Height Restrictions
The Stroller seat is intended only for children old enough to sit upright and
alone. Adequate neck strength is required to hold his/her head upright.
A physician should evaluate anyone who is of questionable developmental age
for using this Stroller. Never carry a child whose sitting height is above the roll bar,
because their chance of injury is significantly higher in the event of a tip over.
Use Your Parking Brake
To maintain control of the Stroller, always set the parking brake before releasing
the handle. Make sure the parking brake is properly adjusted and working prior to
using your Stroller, especially after changing the tires or removing the wheels.
Walk on Suitable Surfaces
Your Stroller was designed for use on surfaces that are meant for walking. Do
not use the Stroller on stairs, escalators or other uneven surfaces while your
children are in it. Never use your Stroller with inline or roller skates.
Hardware Bag Contents and Tool List
IMPORTANT:
listed. Do not proceed with assembly if any parts are missing; contact
Burley immediately for replacement parts.
Bag Contents:
(1) ¼ x 2" hex bolt
(1) Pivot wheel assembly (2) ¼" x 1" hex bolts
Tools Required:
(2) 7/16 inch wrenches or small adjustable wrenches
(1) 3/4 inch wrench
Mounting the Wheel Pivot Assembly
The Stroller wheel folds out of the way for trailering, or drops down into posi-
tion for strolling. The wheel mounts at the end of the trailer's tongue.
Temporary Hitch Removal
Before installing the wheel pivot assembly, unhitch the trailer tongue from
the bicycle. Loosen and remove the locking nut and bolt from the tongue (the
bolt can be discarded; a longer bolt is provided for the next step). Remove
and save the hitch, locking nut, safety strap and the D-ring for re-installa-
tion. Do not remove the hitch connector in the tongue end.
B U R L E Y S T R O L L E R K I T O W N E R ' S I N S T R U C T I O N A N D S A F E T Y M A N U A L
Please verify that you have received all of the contents
(2) lock nuts
(1) 5/32" hex wrench
