Aquasana AQ-SFRO-BN Gebruikershandleiding - Pagina 7
Blader online of download pdf Gebruikershandleiding voor {categorie_naam} Aquasana AQ-SFRO-BN. Aquasana AQ-SFRO-BN 13 pagina's. Under sink water filter smartflow reverse osmosis

10
INSTALLATION STEPS
2
9
Insert Filter Cartridges
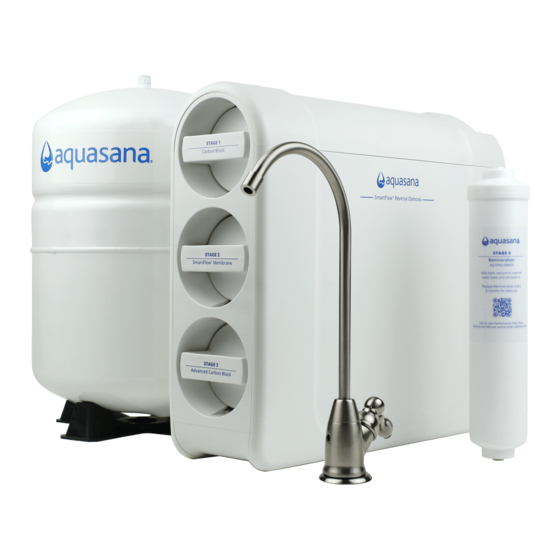
A. Insert each filter cartridge into its designated location in the system
manifold by turning to the right. Ensure filter cartridge handle is vertical
to the system manifold before inserting. The guides on each filter will
ensure proper alignment within the system manifold.
r t
I n s e
d l e
H a n
l l y
t i c a
V e r
B. Once the filter is engaged, push the filter
fully in while rotating 90 degrees to the
right. Continue this step for each filter.
· Top filter: Carbon Block
· Middle filter: SmartFlow™ Membrane
· Bottom filter: Advanced Carbon Block
L o c k
i n
H o r i z
o n t a l
l y
Pressure Test, Check for Leaks, and Flush
10
A. Turn off dedicated faucet.
B. Turn on COLD water supply valve.
C. Turn on kitchen faucet to release air from pipes. Once water is flowing
normally, turn off kitchen faucet.
D. Within approximately two hours, pressure will build in the system.
During this time, carefully inspect all connections and fittings for leaks.
E. After ensuring all connections and fittings are secured, turn on the
dedicated faucet and let water flush until the tank empties and the flow
from the faucet slows to almost nothing. Close the faucet, wait two more
hours for the tank to fill again, and empty the tank. Repeat this step two
more times.
NOTE: Water flow rate will be slow during initial flush. A bubbling noise can be
expected. Do not drink the flushed water.
F. Once you have emptied three tanks of water, close all faucets and refill
for regular use.
NOTE: After initial system flush, it will take 1-3 hours for the water tank to fill.
INSTALLATION STEPS
11
