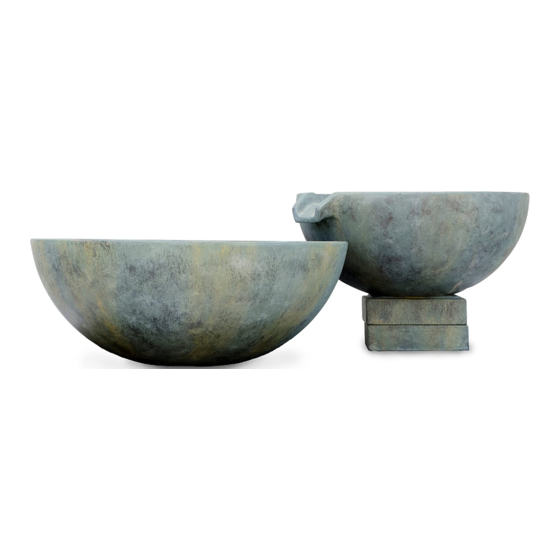
AquaScape SPILLWAY BASIN Installatie-instructies en onderhoud - Pagina 3
Blader online of download pdf Installatie-instructies en onderhoud voor {categorie_naam} AquaScape SPILLWAY BASIN. AquaScape SPILLWAY BASIN 8 pagina's.
Ook voor AquaScape SPILLWAY BASIN: Installatie-instructies en onderhoud (12 pagina's)

Plumbing
• Thread multi-hose adaptor fi tting into threads
on bottom of fountain. Tefl on tape or silicone
(not included) can be used on fi tting threads if
desired to help provide a watertight connection.
• Attach tubing/hose to the multi-hose adapter
fi tting located in the bottom of the fountain. In
some instances the tubing/hose may be tight
and diffi cult to install on the fi tting. We recom-
mend using a twisting motion while installing the tubing/
pipe. Heating the hose for a few seconds in very hot
water or using lubrication, such as silicone grease or olive
oil will help slide the tubing/hose onto the fi tting. Hose
clamps (not included) can be used if needed to secure
loose pipe onto fi tting.
• The spillway stand
includes a slot on the
side for the plumbing
to be run to the under-
side of the fountain
• Connect multi-hose
adapter to pump,
attach tubing from
spillway basin and
bowl to multi-hose
adapter on pump and
tighten hose clamp
(not included).
www.aquascapeinc.com |
71154 -78204, 78205,78206 - Spillway Bowl, Basin, Stand [Instructions].indd 3
CAN 1-866-766-3426 |
US 1-866-877-6637
Leveling
• It is important to make sure
the Spillway Bowl, Spillway
Basin and Spillway Stands
are all level. Additional
stabilization, such as using
compacted screening bed
material, may be required
based on soil conditions.
1" PVC Stand Pipe and Tee Installation Instructions:
1.
The Spillway Bowl and
Spillway Basin each come
complete with a 1" PVC stand
pipe and tee fi tting. Feel free
to trim stand pipe to desired
height.
2. The purpose of the stand pipe
is to prevent the Basin or Bowl
from draining in the event that
the pump is turned off.
Note: It is not necessary to glue either the stand
pipe or the tee into place. This will allow chang-
ing the effect from calm to bubbling by remov-
ing the tee and allow draining the basin or bowl
when needed.
Use tee fi tting to cre-
ate a calm, smooth
effect
Remove standpipe to
drain for winterization
Remove tee to
create a bubbling
effect
1/19/2015 8:31:55 AM
3
