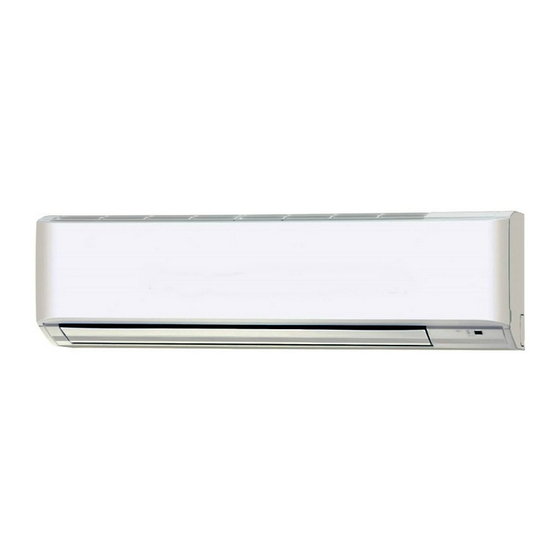
1. GENERAL
This booklet briefly outlines where and how to install the
air conditioning system. Please read over the entire set of
instructions for the indoor and outdoor units and make sure all
accessory parts listed are with the system before beginning.
1-1. Tools Required for Installation (not supplied)
1.
Flathead screwdriver
2.
Phillips head screwdriver
3.
Knife or wire stripper
4.
Tape measure
5.
Carpenter's level
6.
Sabre saw or key hole saw
7.
Hack saw
8.
Core bits
9.
Hammer
10. Drill
11. Tube cutter
12. Tube flaring tool
13. Torque wrench
14. Adjustable wrench
15. Reamer (for deburring)
1-2. Type of Copper Tube and Insulation Material
If you wish to purchase these materials separately from a local
source, you will need:
1.
Deoxidized annealed copper tube for refrigerant tubing.
2.
Foamed polyethylene insulation for copper tubes as
required to precise length of tubing. Wall thickness of the
insulation should be not less than 8 mm.
3.
Use insulated copper wire for field wiring. Wire size varies
with the total length of wiring. Refer to 4. ELECTRICAL
WIRING for details.
CAUTION
Check local electrical codes and regulations before
obtaining wire. Also, check any specified instructions or
limitations.
1-3. Additional Materials Required for Installation
1.
Refrigeration (armored) tape
2.
Insulated staples or clamps for connecting wire (See your
local codes.)
3.
Putty
4.
Refrigeration tubing lubricant
5.
Clamps or saddles to secure refrigerant tubing
6.
Scale for weighing
2. SELECTING THE INSTALLATION SITE
2-1. Indoor Unit
AVOID:
● areas where leakage of flammable gas may be expected.
● places where large amounts of oil mist exist.
● direct sunlight.
● locations near heat sources which may affect the
performance of the unit.
● locations where external air may enter the room directly.
This may cause "condensation" on the air discharge ports,
causing them to spray or drip water.
● locations where the remote controller will be splashed with
water or affected by dampness or humidity.
● installing the remote controller behind curtains or furniture.
● locations where high-frequency emissions are generated.
● locations on the outside or in humid areas like swimming
pools.
● locations in areas with danger of explosion, with aggressive
air or with extreme high dust exposure.
DO:
● select a location in frost-free indoor areas only.
● select a location where the ceiling is strong enough to
support the weight of the unit.
● select a location where the unit can be installed as close as
possible to the wall and as flush as possible to the top of the
door.
● select a location where tubing and drain pipe have the
shortest run to the outdoor unit.
● allow room for operation and maintenance as well as
unrestricted air flow around the unit.
● install the unit within the maximum elevation difference
above or below the outdoor unit and within a total tubing
length (L) from the outdoor unit as detailed in the installation
manual packed with the outdoor unit.
● allow room for mounting the remote controller about 1 m off
the floor, in an area that is not in direct sunlight or in the flow
of cool air from the indoor unit.
Fig. 2-1 shows the unit in freely suspended installation.
Wall
Door
frame
6
Ceiling mounting kit
Electrical connections
Inlet grille
Inspection cover
Fig. 2-1

