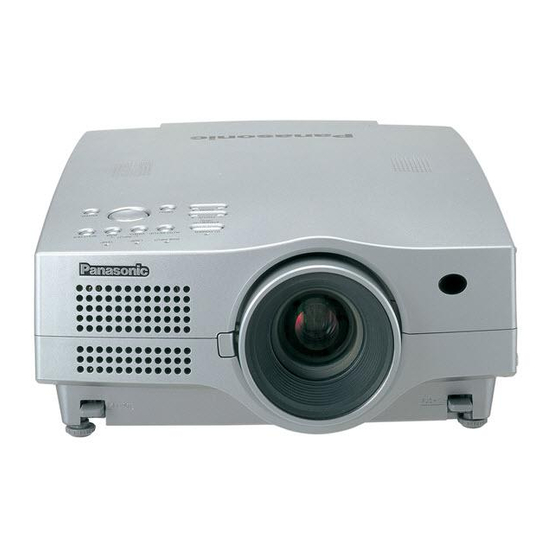
Panasonic PT-L780U Gebruiksaanwijzing - Pagina 27
Blader online of download pdf Gebruiksaanwijzing voor {categorie_naam} Panasonic PT-L780U. Panasonic PT-L780U 42 pagina's. Panasonic operating instructions lcd projector pt-l780ntu pt-l780u
Ook voor Panasonic PT-L780U: Gebruiksaanwijzing (42 pagina's)

Setting-up dimensions which are not given in the table can be calculated
using the formulas below.
If the screen size (diagonal) is SD (m), then the following formula is used to
calculate the projection distance for the wide lens position (LW) and the
projection distance for the telephoto lens position (LT).
Model No. of projection lens Aspect ratio Methods of calculation of Projection distance (L) Unit: mm
LW=0.027xSD/0.0254-0.0523
4:3
LT=0.0355xSD/0.0254-0.0509
ET-LE10
(1.3-1.7:1)
LW=0.0294xSD/0.254-0.0523
16:9
LT=0.0387xSD/0.0254-0.0509
LW=0.0554xSD/0.0254-0.134
4:3
LT=0.0871xSD/0.0254-0.136
ET-LE20
(2.6-4.2:1)
LW=0.0604xSD /0.0254 −0.134
16:9
LT=0.0949xSD /0.0254 −0.136
LW=0.0809xSD/0.0254+0.104
4:3
LT=0.1147xSD/0.0254+0.096
ET-LE30
(4.0-5.6:1)
LW=0.0881xSD /0.0254 +0.104
16:9
LT=0.1250xSD /0.0254 +0.096
Slot cover replacement
When connecting the projector to a personal computer using an optional
projector LAN card, replace the slot cover with the accessory projector LAN
card slot cover.
Removing the slot cover
$
#
Installing the slot cover
52
#Remove the hooks from the holes
of the projector.
$Lift up the slot cover to remove it.
#Insert one of the hooks of the slot
cover (for projector LAN card) into
the mounting hole in the projector.
$Insert the other hook of the slot
cover into the other mounting hole
in the projector.
Putting the power cord and
remote control unit away
Installing the cable cover
#
Remote control unit
(Infrared emitter)
Hook1
Hook2
$
%
Velcro
'
˛
3 pt
3 pt
˛
'
˛
(
˛
&
Removing the cable cover
$
˛
˛
$
%
#
NOTE:
Do not lift up the projector by holding the cable, otherwise the cable
cover might come off.
#Put the remote control unit
into the cable cover with the
buttons facing downward to
prevent them from being
pressed.
$Put the power cords and
other cords into the cable
cover.
%Put the Velcro through the
hole, and tape it to prevent
the cords from dropping out.
&Insert the hook 1 of the cable
cover into the mounting hole
in the projector.
'Push in the hook 2 until it
locks into place.
(Tighten the screw by turning it
clockwise.
#Loosen the screw by turning it
anticlockwise.
$Release the two hooks at the
top of the cable cover.
%Pull the cable cover to the
rear to remove it from the
projector.
53
