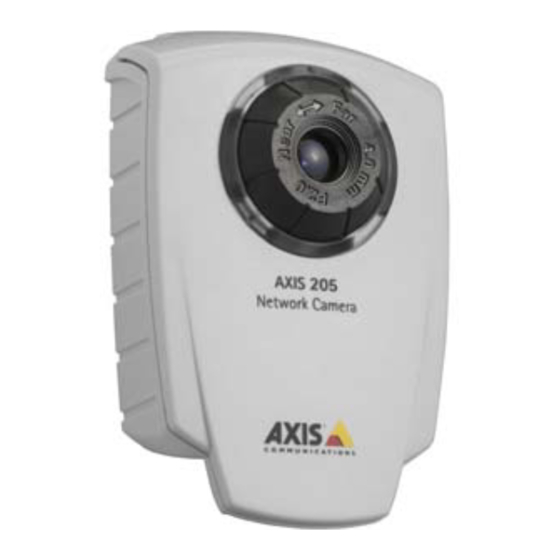
Axis 205 Installatiehandleiding - Pagina 3
Blader online of download pdf Installatiehandleiding voor {categorie_naam} Axis 205. Axis 205 10 pagina's. Axis communications network camera
Ook voor Axis 205: Snelle installatiehandleiding (6 pagina's), (Italiaans) Specificaties (2 pagina's)

Installation
2
Installation
The AXIS 205 is designed for installation on an Ethernet network. This involves assigning
the product an IP address, either via an automated network service (e.g. DHCP) or
manually. The available methods are described below.
For the advanced user!
Upon delivery, the AXIS 205 is set to obtain a dynamic IP address via DHCP. When using a broadband
router (NAT-box) that includes a DHCP server, the camera will receive an IP address when power is
applied. If a dynamic IP address is not obtained, the IP address will default to 192.168.0.90. After power
has been applied, push the control button, wait 20 seconds and a link to your camera will be registered
at the Axis Internet Dynamic DNS service. You should then visit www.axiscam.net and follow the
instructions found there. See also the complete installation procedure as described below.
The Axis Internet Dynamic DNS Service
Axis recommends using the Axis Internet Dynamic DNS Service when installing the
AXIS 205. The service provides a one-click procedure that installs the camera and makes it
available on your local network and on the Internet - simply by pressing the control
button on the rear of the camera. The camera receives its own URL (web address), which
can then be used to access it. The camera can be unregistered from the service at any time.
Requirements
To use the Axis Internet Dynamic DNS Service the following is required:
• A LAN (Local Area Network), with or without a DHCP server
• An Internet connection that does not require a proxy server for HTTP access.
Please consult your network administrator to check if your network meets the specified
requirements or not. If not, the AXIS 205 must be installed manually. See page 4.
Some connection types, such as PPPoE (Point-to-Point Protocol over Ethernet), require an
Internet sharing device (e.g. a NAT-box) for managing ISP login.
Installation Procedure
Please note that this procedure will send the AXIS 205's IP address, firmware version,
product type and serial number to the Axis Internet Dynamic DNS Service.
1. Connect the AXIS 205 to your local network, using a standard network cable.
2. Connect the power adapter to the camera and connect to the main power supply.
3. Wait for the Status indicator on the front of the camera to show a steady green,
whereupon the camera will have received a dynamic IP address from a DHCP server on
your network. If after 20 seconds the Status indicator remains yellow, the camera's IP
AXIS 205 Network Camera
