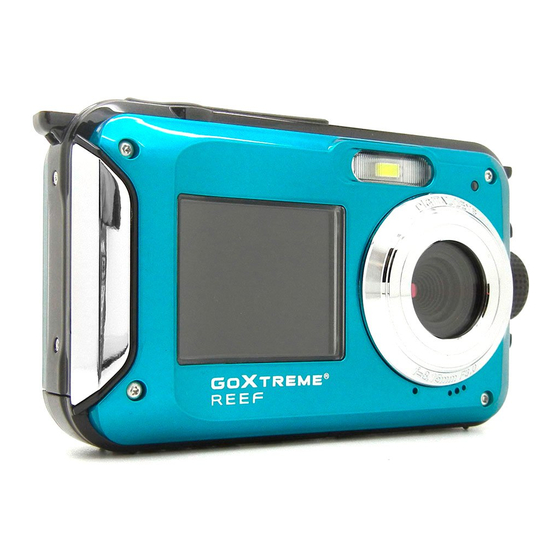
Easypix goXtreem REEF Gebruikershandleiding - Pagina 11
Blader online of download pdf Gebruikershandleiding voor {categorie_naam} Easypix goXtreem REEF. Easypix goXtreem REEF 19 pagina's.

1. to enter the settings menus press the Menu key.
2. Use the left/right keys to select the settings icon
The following different settings can be adjusted.
Exposure
Adjusts your photos brightness.
1. Press the up/down keys to select the Exposure option.
2. Press the Ok key to enter the sub-menu.
3. Press the up/down keys to select EV(+3 to -3).
4. Press the OK key to confirm and save your selection.
The relative icon will be displayed on the LCD screen.
ISO
This is a special function for when the light source is insufficient, but the environment you are
shooting in may not allow for use of the flash.
1. Press the up/down keys to select the ISO option under the settings menu.
2. Press the OK key to enter the ISO sub menu.
3. Press the up/down keys to select the ISO: Auto/100/200/400.
4. Press the menu key to save. The relative icon will be displayed on the LCD screen.
White balance
This option adjusts the photo color and can be adjusted according to light source.
1. Press the up/down keys to select White Balance option under setting menu.
2. Press the OK key to enter the sub menu.
3. Press the up/down keys to select: Auto/Sunny/Cloudy/tungsten lamp/fluorescent lamp.
4. Press the OK key to confirm and save your selection.
Sharpness
The function permits the user to adjust the sharpness of the photo so that the edge is clearer
or softer.
1. Press the up/down key to select the Sharpness option under setting menu.
2. Press the OK key to enter the sub menu.
3. Press the up/down keys to select: sharp/common/ soft
