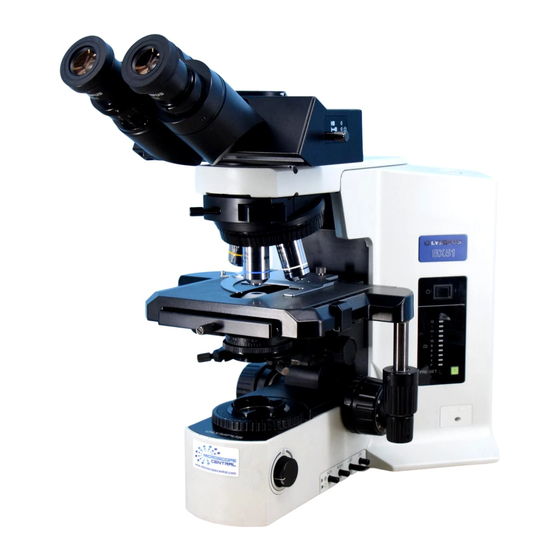
Olympus BX51 Gebruiksaanwijzing - Pagina 5
Blader online of download pdf Gebruiksaanwijzing voor {categorie_naam} Olympus BX51. Olympus BX51 40 pagina's. System
Ook voor Olympus BX51: Bedieningshandleiding (17 pagina's), Gebruiksaanwijzing (34 pagina's), Gebruiksaanwijzing (37 pagina's), Bedieningshandleiding (11 pagina's)

IMPORTANT
This microscope employs a UIS2/UIS (Universal Infinity System) optical design, and should be used
only with UIS2/UIS eyepieces, objectives and condensers for the BX2 series. (Some of the modules
designed for the BX series and objectives/eyepieces for the UIS series are also usable. For details,
please consult Olympus or the catalogues.) Less than optimum performance may result if inappropriate
accessories are used.
SAFETY PRECAUTIONS
Fig. 1
1. After the equipment has been used in an observation of a specimen that
is accompanied with a potential of infection, clean the parts coming in
contact with the specimen to prevent infection.
· Moving this product is accompanied with the risk of dropping the
specimen. Be sure to remove the specimen before moving this
product.
· In case the specimen is damaged by erroneous operation, promptly
take the infection prevention measures.
· The product becomes unstable if its height is increased by an accessory
mounted on it. In this case, take anti-toppling measures to prevent the
specimen from being dropped when the product topples down.
2. Install the microscope on a sturdy, level table or bench so as not to block
the air vents on the underside of the base.
Do not place the microscope on a flexible surface, as this could result in
blocking the air vents and cause overheating or a fire.
3. The surfaces of the lamp housing on the rear of the microscope will
become extremely hot during operation. When installing the microscope,
make sure to allow ample free space (10 cm or more) around and in
particular above the lamp housing.
4. When installing the microscope, route the power cord away from the
lamp housing. Should the power cord come in contact with the hot lamp
housing, the power cord could melt and cause electric shock.
5. To avoid potential shock hazards and burns when replacing the light
bulb, set the main switch @ to "
cord from the wall outlet in advance. Whenever you replace the bulb
@
during use or right after use, allow the lamp housing‚ and bulb to cool
before touching. (Fig. 1)
Designated bulb
# The microscope also incorporate a fuse (this should be replaced by
the manufacturer or an authorized agent).
6. Always use the power cord provided by Olympus. If no power cord is
provided, please select the proper power cord by referring to the section
"PROPER SELECTION OF THE POWER SUPPLY CORD" at the end of
this instruction manual. If the proper power cord is not used, product
safety performance cannot be warranted.
7. Always ensure that the grounding terminal of the microscope and that
of the wall outlet are properly connected. If the equipment is not grounded,
Olympus can no longer warrant the electrical safety performance of the
equipment.
8. Never insert metallic objects into the air vents of the microscope frame
as this could result in electrical shock, personal injury and equipment
damage.
" (OFF) then disconnect the power
12V100WHAL (PHILIPS 7724)
12V50WHAL-L (LIFE JC)
BX51
(Fig. 1)
1
