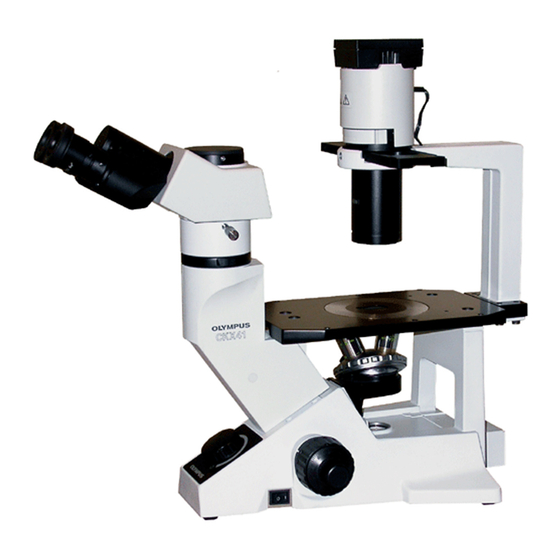
Olympus CKX41 Gebruiksaanwijzing - Pagina 22
Blader online of download pdf Gebruiksaanwijzing voor {categorie_naam} Olympus CKX41. Olympus CKX41 36 pagina's. Reflected fluorescence system
Ook voor Olympus CKX41: Overzicht (7 pagina's), Brochure & specificaties (4 pagina's), Reparatiehandleiding (43 pagina's)

- 1. Table of Contents
- 1. General Precautions for Observation
- 1. Using the Controls
- 2. Important
- 2. Applicable Fluorescence Objectives
- 3. Nomenclature
- 3. Centering the Mercury Burner
- 4. Controls of each Module
- 4. Switching the Filter Slider
- 4. Troubleshooting Guide
- 4. Specifications
- 4. Assembly
- 4. Assembly
- 4. U-Excitation Filter Set Ckx-Nu (Optional)
- 5. Summary of Reflected Fluorescence Observation Procedure
- 5. Proper Selection of the Power Supply Cord
Problem
b) The main switch can be set
to ON but the burner does
not ignite.
c ) The mercury burner flickers
or the brightness is low.
d) The service lives of mercury
burners are very short.
19
Cause
The lamp housing connecting
cord is connected improperly.
The mercury burner is not
mounted.
The safety mechanism in the
lamp housing is activated.
The auto ignition system is mal-
functioning.
The auto ignition safety mecha-
nism is activated.
This phenomenon is observed
in a short period after ignition.
The power supply voltage
and/or frequency switches are
set improperly.
The burner life has expired.
The power supply voltage is set
improperly.
Remedy
Connect it properly to the con-
nectors.
Attach a mercury burner.
Tighten the lamp burner socket
clamping screw firmly.
Set the main switch of the power
supply unit to " " (OFF) then " "
(ON) again.
(Repeated ON-OFF is possible
in this case.)
Press the switch inside the
starter reset hole on the right
panel of the power supply unit,
and then set the main switch to
" " (ON) again.
Wait for 10 minutes or more
after ignition.
Set them properly.
Replace the mercury burner.
Set it properly.
Page
27
25, 26
25
13
13
13
27
25, 26
27
