Olympus CX21 Gebruiksaanwijzing - Pagina 20
Blader online of download pdf Gebruiksaanwijzing voor {categorie_naam} Olympus CX21. Olympus CX21 28 pagina's. Education microscope
Ook voor Olympus CX21: Onderhoudshandleiding (25 pagina's)
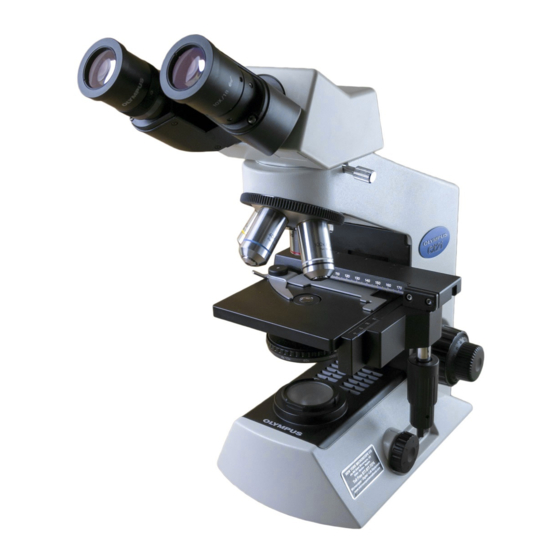
ASSEMBLY
}Each standard set can be assembled by simply attaching the lamp bulb, daylight (blue) filter and power cord.
@
²
@
²
17
³
Fig. 17
Fig. 18
1
Installing/Replacing the Lamp Bulb
# Before attaching the lamp bulb, remove the parts that may drop
such as the filter and specimen from the microscope frame, and
place it on the back so that the bottom can be seen from the front.
1. Pull the lock knob 1 on the bottom to open the lamp bulb replacement
cover.
2. Hold the halogen lamp bulb 2 without taking it out of the polyethylene
bag so as not to stain the bulb with fingerprints or stains, and push the
bulb into the pin holes on the socket 3. After attaching, remove the
polyethylene bag from it.
<
Applicable lamp bulb
6 V, 20 W halogen bulb: 6V20WHAL (Philips Type 7388)
Always use the designated bulb. Using a bulb other than a specified
one may lead to a fire hazard.
Fingerprints or stains on the lamp bulb reduce its service life. When
it is contaminated, wipe with a cloth slightly moistened with alcohol.
3. With the lock knob left in the pulled-out position, close the lamp bulb
replacement cover. Then push in the lock knob to lock the cover.
# The cover cannot be closed if the lock knob is in the pushed-in
position. Make sure that it is in the pulled-out position before
closing the cover.
Caution for Bulb Replacement During Use or Right After Use
The bulb, lamp socket and areas near these will be extremely hot
during and right after use. Set the main switch to "
nect the power cord from the wall outlet, then allow the old bulb and
lamp socket to cool before replacing the bulb with a new bulb of the
designated type.
2
Mounting the Daylight (Blue) Filter
}This filter modifies the color of observation light into a natural color (day-
light color).
· Slide the daylight filter 1 into the bottom of the condenser 2 until it
clicks into place.
>
(Fig. 17)
" (OFF), discon-
(Fig. 18)