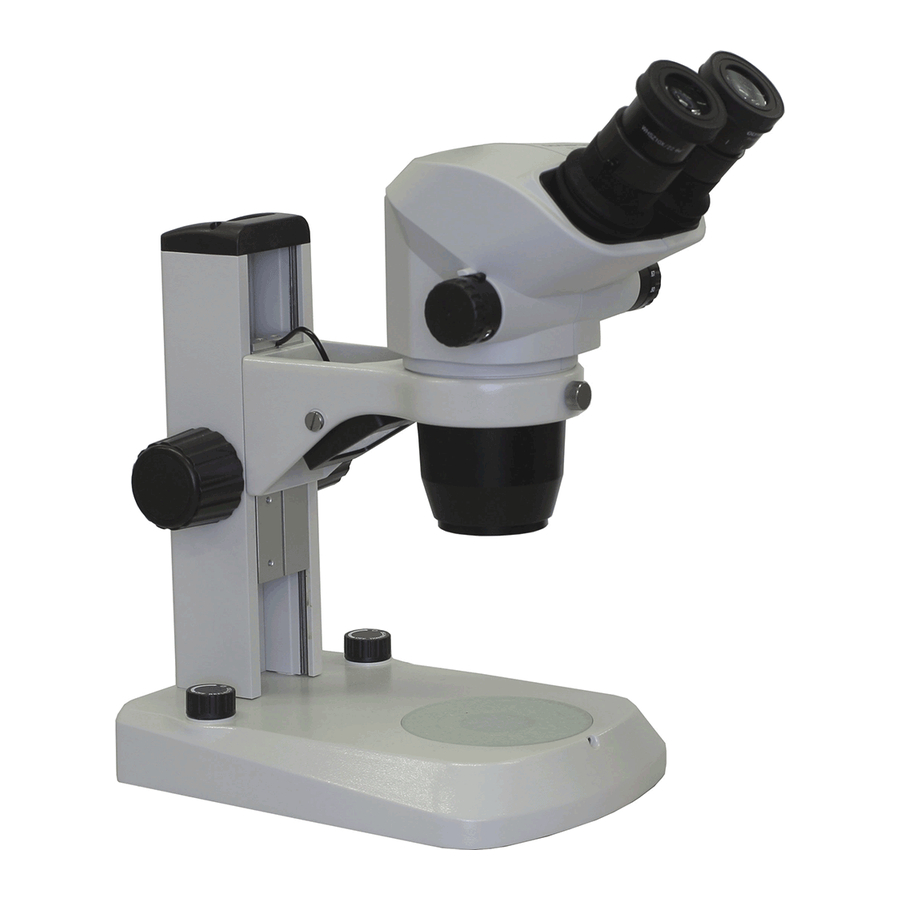
Olympus SZ61TR Gebruiksaanwijzing - Pagina 16
Blader online of download pdf Gebruiksaanwijzing voor {categorie_naam} Olympus SZ61TR. Olympus SZ61TR 28 pagina's. Zoom stereo microscopes
Ook voor Olympus SZ61TR: Gebruiksaanwijzing (28 pagina's)

4
TROUBLESHOOTING GUIDE
Under certain conditions, performance of the microscope may be adversely affected by factors other than defects. If
problems occur, please review the following list and take remedial action as needed. If you cannot solve the problem
after checking the entire list, please contact Olympus.
1. The left and right fields of view
do not coincide.
2. Dirt or dust is visible in the field
of view.
3. Visibility of observed image is
poor.
4. Zooming causes defocusing of
the observed image.
5. The focus adjustment knob does
not rotate smoothly.
6. The microscope body drops
spontaneously, causing the
focusing to be deviated during
observation.
7. The right field of view or the
monitor image is cut off.
8. Zooming causes important
defocusing of the monitor image.
12
Downloaded from
ManualsNet.com
Problem
Interpupillary distance is adjusted
improperly.
The parallax is not corrected.
The magnifications of the left and
right eyepieces are different.
Dirt/dust on specimen.
Dirt/dust on eyepieces
Dirt/dust on the dustproof glass on
the tip of the objective.
The eyepiece diopter is adjusted
improperly.
The focus adjustment is inaccurate. Adjust the focus accurately.
The rotation tension of the knob is
set too high.
The rotation tension of the knob is
set too low.
The light path selector lever is not
set properly to a stop position.
The confocality of the camera is
adjusted improperly.
search engine
Cause
Adjust it correctly.
Adjust it correctly.
Use the eyepieces with the same
magnification for the left and right
by replacing one of them.
Clean thoroughly.
Clean thoroughly.
Adjust it correctly.
Decrease the rotation tension to an
optimum level.
Increase the rotation tension to an
optimum level.
Push in or pull out the lever all the
way till the stop position.
Adjust it properly.
Remedy
Page
6
7
3
2
2
7
5
6
6
10
11
