Olympus SZX16 Gebruiksaanwijzing - Pagina 29
Blader online of download pdf Gebruiksaanwijzing voor {categorie_naam} Olympus SZX16. Olympus SZX16 36 pagina's. Research high-class stereo microscope
Ook voor Olympus SZX16: Overzicht (24 pagina's), Gebruiksaanwijzing (28 pagina's), Gebruiksaanwijzing (40 pagina's)
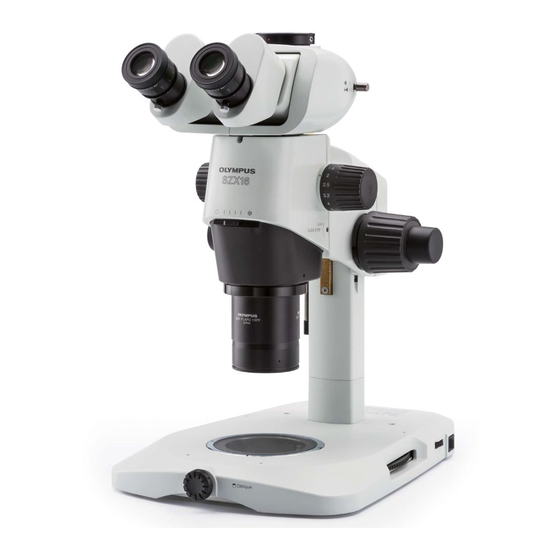
Fig. 31
4
Caution
# When transporting the microscope, do not hold it by the revolving nosepiece.
# The parfocal property when the objective is switched is not completely guaranteed.
# The SZ2-FO variable-height stage cannot be used when the revolving nosepiece is used (because the objective
will come in the way).
# The SZX2-FO focusing assembly cannot be combined with this microscope.
2. Return the microscope body to the illumination light path by loosening
the focusing module clamping knob ², rotating the microscope body
gently in the direction of the arrow, aligning visually the objective with the
illumination light path and tightening the clamping knob ² again.
²
Now the setting of the photo light path is complete.
}If you want to use the right light path, see below.
<< Using the left light path for photomicrography >>
}When the SZX2-LBS beam splitter is used, the left light path can be used
as the photo light path of optical axis aligned photomicrography.
1. Rotate the desired objective @ counterclockwise (15°) till the click position
2. Return the microscope frame to the illumination light path by loosening
the focusing assembly clamping knob, aligning visually the objective
with the illumination light path and tightening the clamping knob again.
<< Color temperature setting when using the SZX2-ILLB2 illumination base >>
}When using the SZX2-ILLB2 in optical axis aligned photomicrography,
perform the following setting to compensate for the color temperature
deviation of about 20 mired.
1. Engage the LBD filter, which is built into the bottom section of the SZX2-
ILLB2, in the light path.
2. Set the brightness control knob of the SZX2-ILLB2 to the maximum
brightness position.
}After this setting, the brightness should be adjusted using built-in ND
filters.
SZX16
(Fig. 31)
25