Olympus VANOX Gebruiksaanwijzing - Pagina 24
Blader online of download pdf Gebruiksaanwijzing voor {categorie_naam} Olympus VANOX. Olympus VANOX 28 pagina's. Universal research microscope
kl.
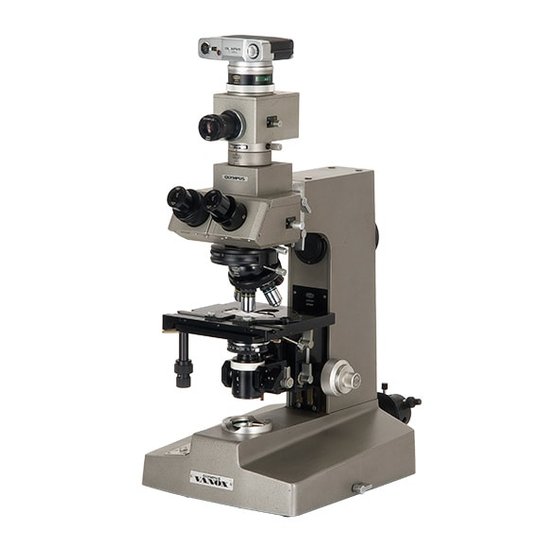
Operation of the Binocular Observation Tube with Photo Tube
1. Select the Light Path.
IS
Operation of the light paZh selector knob
located on the righz side
of
the tube deflects
the light in three directions as explained in the
'*
I
following chart: (Fig. 171
L
---
The knob shaft has color bands to identify the
three settings and click stops to engage the
light path selector in each position.
Fig. 17
The
indicator plate summarizing
the
usage of
the
above table is provided at the
knob port; i t
can
be consulted before operating the
knob.
V:
Viewer (white letters)
C: Camera
(red
letters)
CV: Camera & Viewer (yellow-green letters)
Amount of Light
,
100%
into
binocular tube
20%
into
binocular tube, 80%
into photo tube
100% into
photo
tube
Position of
Knob
The
colors uf Ltie
Ielters
curl espurld wilt1 L 1 1 e culur bands un the knob shaft.
2.
Diopter Correction
Dilferences in eye acuily are often present in the
same
person
so
that long
time
microscopic observation would put: considerable strain on the observer's eyes. There-
fore, cliopter adjustment of both eyes is a very useful aid.
Color on
Knob Shaft
(Indicator Plate)
To adjust
for your correct diopter setting: (Fig. 1
8)
1) Look through the rlght eyepiece with your
right eye and focus on the specimen.
7
2) Next,
look
through the left eyepiece with
your left eye
and turn the diopter adjustment
ring on the eyepiece tube to focus on the
speci men.
3.
I nterpupillary Adjustment
Because of the constant tube length adjustment
built into the observation tube, the mechanical
YI
Fig. 18
tube length does not change
a t
all i f the inter-
pupillary distance of the eyepiece tubes is varied.
Hold the right and
left
eyepiece tubes with both
hands and push the tubes together, or pull them
...
apart, whichever is required, while looking through
the eyepieces with
both eyes, until perfect
binocular vision is obtained, (Fig. 19)
I t
is good
practice to memorize the individual
interpupillary distance setting.
A scale is provided for this purpose, located
. .
between the eyepiece tubes.
Fig. 19
-
Observation
Tube
Observation
Tubel
Photo Tube
Photo Tube
Pushed in
all
the way
-
-
-
-
Pulled out
halfway
Pulled out all
the way
White
(V)
Yellow Green
(CV)
Red (C)