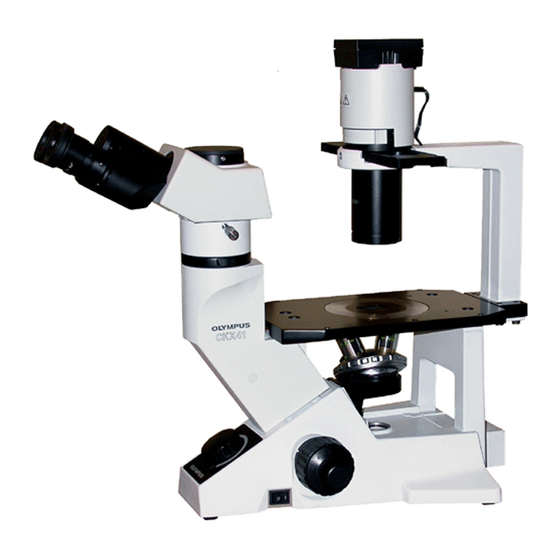
Olympus CKX41 Gebruiksaanwijzing - Pagina 30
Blader online of download pdf Gebruiksaanwijzing voor {categorie_naam} Olympus CKX41. Olympus CKX41 36 pagina's. Reflected fluorescence system
Ook voor Olympus CKX41: Overzicht (7 pagina's), Brochure & specificaties (4 pagina's), Reparatiehandleiding (43 pagina's)

- 1. Table of Contents
- 1. General Precautions for Observation
- 1. Using the Controls
- 2. Important
- 2. Applicable Fluorescence Objectives
- 3. Nomenclature
- 3. Centering the Mercury Burner
- 4. Troubleshooting Guide
- 4. Specifications
- 4. Assembly
- 4. Assembly
- 4. U-Excitation Filter Set Ckx-Nu (Optional)
- 4. Controls of each Module
- 4. Switching the Filter Slider
- 5. Proper Selection of the Power Supply Cord
- 5. Summary of Reflected Fluorescence Observation Procedure
1
6
5
27
2
Fig. 21
4
3
Fig. 22
8
7
Fig. 23
9
Connecting the Cords
Setting the input power voltage
1. Using a flat-blade screwdriver, set the voltage switch 1 on
the rear of the power supply unit to your local power voltage.
2. Set the frequency switch 2 to your local power frequency.
# Improper setting of the above switches may degrade
burner performance, or in the worst case (although very
rare), cause the burner to explode.
Cables and cords are vulnerable when bent or twisted.
Never subject them to excessive force.
Make sure that the main switch of the power supply is
set to "
" (OFF) before connecting cables.
1. Plug the connector 3 from the burner socket securely into
the connector 4 on the power supply unit. (Fig. 22)
Always use the U-LH50HG Lamp Housing.
Always use the power cord provided by Olympus. If no
power cord is provided, please select the proper power
cord by referring to the section "PROPER SELECTION
OF THE POWER SUPPLY CORD" at the end of this
instruction manual. If the proper power cord is not used,
product safety performance cannot be warranted.
2. Connect the power cord connector 5 to connector 6 firmly.
3. Connect the power cord plug 7 to a wall outlet 8. (Fig. 23)
Be sure to supply power from a grounded, 3-conductor
power outlet using the proper power cord. If the power
outlet is not grounded properly, Olympus can no longer
warrant the electrical safety performance of the equip-
ment.
If the power cord or a connection cable comes in contact
with the lamp socket or surrounding equipment, the cord
or cable may melt and result in shock hazard. To prevent
this, distribute the cords and cables apart from the lamp
housing.
(Figs. 21 to 23)
(Fig. 22)
