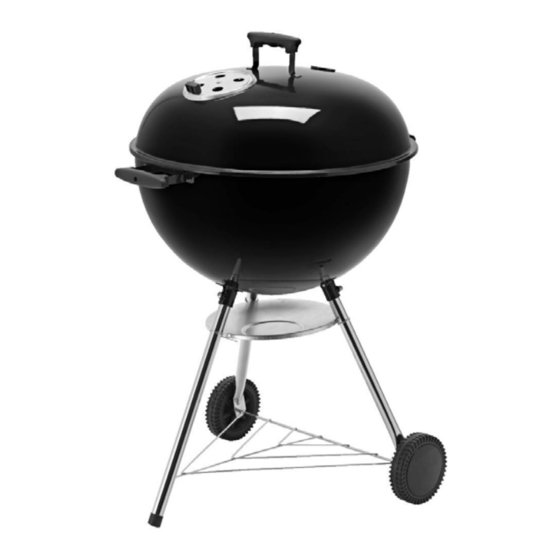
Axley 761-056 Montage-instructies - Pagina 5
Blader online of download pdf Montage-instructies voor {categorie_naam} Axley 761-056. Axley 761-056 5 pagina's.

ENGLISH
Read the Assembly Instructions carefully before use.
1.
Place the spring clips (N) on the long leg (J) and the short legs (O).
2.
Place the long leg (J) and the short legs (O) in the fasteners on the grill pan (F) and screw on with
the M6 x 12 (G) screws through the holes.
3.
Insert the wire shelf (I) fasteners through the short legs (O) and hook on the third corner on the
long leg (J). Fit the foot (K) on the long leg (J).
4.
Fit the wheels (M) on the extruding fasteners for the wire shelf (I) and lock in place with the M8
dome nuts.
5.
Fit the ash receiver (H) between the three legs with the three spring clips (N).
6.
Fit the air vent (B) on the lid and the air vent (R) on the grill pan with the M6 x 10 (P) screws and
M6 (Q) nuts.
7.
Place the charcoal grate (E) and grill rack (D) in the grill pan (F).
8.
Fit the thermometer (S).
The grill is now ready to be used.
Jula reserves the right to make changes. In the event of problems, please contact our service
department.
www.jula.com
ENGLISH
DESCRIPTION
A.
Plastic handle
B.
Air vent, lid
C.
Lid
D.
Grill rack
E.
Charcoal grate
F.
Grill pan
G.
Screw M6 x 12
H.
Ash receiver
I.
Wire shelf
J.
Long leg
K.
Foot
L.
Dome nut M8
M.
Wheel
N.
Spring clip
O.
Short leg
P.
Screw M6 x 10
Q.
Nut M6
R.
Air vent, grill pan
S.
Thermometer
ASSEMBLY
5
3
1
1
1
1
1
3
1
1
1
1
2
2
3
2
2
2
1
1
