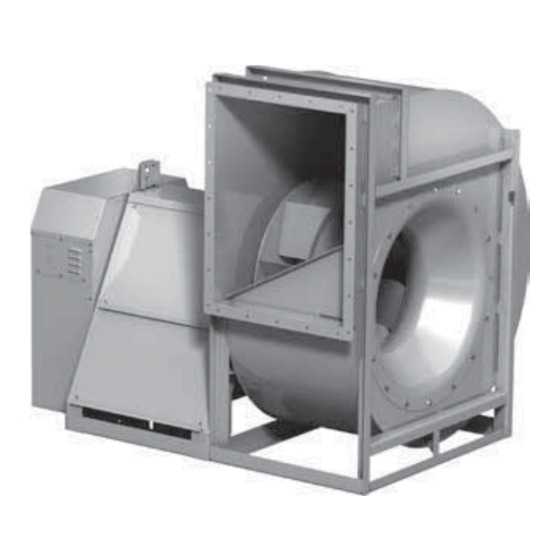
Accurex XUEF-400 Installatie-, Bedienings- en Onderhoudshandleiding - Pagina 9
Blader online of download pdf Installatie-, Bedienings- en Onderhoudshandleiding voor {categorie_naam} Accurex XUEF-400. Accurex XUEF-400 20 pagina's. Utility fans

V-Belt Drives
V-Belt Drive Installation
1. Remove the protective coating from the end of the
fan shaft using mineral spirits or another similar
solvent. Check to ensure that the shaft is free of
nicks and burrs.
2. Slide sheaves on shafts. Do not drive sheaves on
as this may result in bearing damage.
3. Align fan and motor sheaves with a
straight edge or string and tighten.
4. Place belts over sheaves. Do
not pry or force belts, as this
could result in damage to
the cords in the belts.
5. Adjust the tension until
the belts appear snug.
Run the unit for a few
minutes and allow the
belts to "set" properly.
6. With the fan off and disconnect locked out, adjust
the belt tension by moving the motor pivot plate.
When in operation, the tight side of the belts
should be in a straight line from sheave to sheave
with a slight bow on the slack side.
Alignment of Pulleys and Belts
Check pulleys and belts for proper alignment to avoid
unnecessary belt wear, noise, vibration and power
loss. Motor and drive shafts must be parallel and
pulleys in line as shown in Figure 1.
CORRECT
WRONG
Figure 1
The adjustable motor pulley is set at the factory for
the fan RPM specified by the customer. Fan RPM can
be increased by closing or decreased by opening the
adjustable motor pulley. Multigroove variable pitch
pulleys must be adjusted an equal number of turns
open or closed. Any increase in fan speed represents
a substantial increase in load on the motor.
To avoid motor overheating and possible burnout,
motor load amperes should always be checked and
compared to nameplate rating when fan speed is
increased.
Aligning Sheaves with
a Straight Edge
WRONG
WRONG
Field Coating Touch-Up Procedure
for Scratched Areas
Standard coating and color is RAL 7023 Concrete
Grey. The procedure outlines the correct method for
repairing minor scratches in the coating.
TOUCH-UP PAINT REPAIR KIT CONTENTS
• One pint of Kem Kromik
- including a technical data sheet
• One pint of industrial enamel
- including a technical data sheet
• Four disposable foam brushes
• One sheet sandpaper
• Repair procedure details
1. Scuff affected area to be repaired using medium
sandpaper (provided) or medium Scotch Brite™
pad. Feather the edges.
2. Clean affected area to be touched up using an
alkaline based cleaner and rinse.
®
3. Apply Kem Kromik
primer using 1 inch foam
brush (provided). Follow technical data sheet
instructions.
4. Allow primer to dry a minimum of 2-1/2 hours
before top coating.
5. Apply topcoat with industrial enamel using 1 inch
foam brush (provided). Follow technical data
sheets instructions. Allow painted units to air-dry
and cure before putting into service. See Technical
Data sheets (included with kit) for detailed drying
and cure schedules at different temperatures.
NOTE
While the manufacturer provides heavy-duty, quality
products for marine environments, routine paint
touch-ups may be required in coastal regions where
salt or marine air could damage the coating. The
severe environment will accelerate the damage from
any scratches or chips and it is recommended that
those be repaired immediately.
To order additional coating repair kits please reference
part number HAZ2597 PNT FIELD REPAIR KIT,
RAL 7023 CONCRETE GREY. Please contact factory
with your fan's serial number for colors other than our
standard.
®
primer
Utility Fans
9
