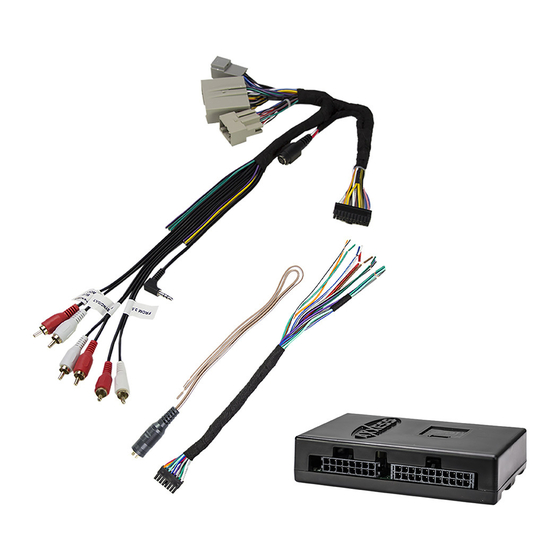
Axxess AX-FD1-SWC Handleiding voor installatie-instructies - Pagina 5
Blader online of download pdf Handleiding voor installatie-instructies voor {categorie_naam} Axxess AX-FD1-SWC. Axxess AX-FD1-SWC 16 pagina's. Ford data interface with swc 2007-up

ADJUSTING THE AX-FD1-SWC
Audio level adjustment:
• With the vehicle and radio turned on, turn the volume up 3/4 of the way.
• With a small flat-blade screwdriver, adjust the potentiometer clockwise to raise the
audio level; counterclockwise to lower the audio level.
• Once at a desired level, audio level adjustment is complete.
EXTRA FEATURES
RSE, SAT and SYNC:
• If the vehicle is equipped with, rear seat entertainment, satellite radio or SYNC, the
AX-FD1-SWC can retain these features.
Note: Most Ford radios have SAT built in, so this feature is lost if so.
• Change the source of the radio to AUX-IN; SYNC audio will start playing if SYNC has been activated.
• The display in the factory screen, or the optional AX-LCD (sold separately) will display the
SYNC information.
• Listed below are the functions of the AX-LCD while using satellite radio or SYNC:
• Arrow up—Channel up (only in SAT or USB mode)
• Arrow down—Channel down (only in SAT or USB mode)
• Enter—Selects current item on the screen
• Return/ESC—Exits to the previous screen
• To access RSE or SAT, press and hold the MEDIA button on the steering wheel for 2 seconds. This will
switch to the next source available. Each time the MEDIA button is pressed for 2 seconds the source
will change. The sequence of sources are; SYNC/RSE/SAT. To temporarily disable SYNC/ RSE/SAT, press
and hold the MEDIA button for 3 seconds. To turn it back on, press the MEDIA button for 2 seconds. The
factory screen, or the AX-LCD will provide a visual confirmation of which source is active.
(SONY/THX ONLY)
L.E.D. feedback
L.E.D. feedback legend
* Note: If the AX-FD1-SWC flashes Red (7) times, and you do not have an Alpine radio connected to
it, that means the AX-FD1-SWC does not detect a radio connected it. Verify that the 3.5mm jack is
connected to the correct steering wheel jack/wire in the radio.
** Note: Part number AX-SWC-PARROT is required (sold separately). Also, the Parrot radio must be
updated to rev. 2.1.4 or higher through www.parrot.com.
† Note: If you have a Clarion radio and the steering wheel controls do not work, change the radio
type to the other Clarion radio type; same for Eclipse. The following section explains how to do this.
‡ Note: If you have a Kenwood radio and the L.E.D. feedback comes back as showing as a JVC radio,
change the radio type to a Kenwood. The following section explains how to do this.
STEERING WHEEL CONTROL
EXTRA SETTINGS
The (18) Red L.E.D. flashes represent what brand radio the AX-FD1-SWC believes it is
connected to. Each flash represents a different radio manufacturer. For example, if you are
installing a JVC radio, the AX-FD1-SWC will flash (5) times. Following is a legend that dictates
which manufacturer corresponds to which flash.
1 flash - Eclipse (Type 1) †
2 flashes - Kenwood ‡
3 flashes - Clarion (Type 1) †
4 flashes - Sony / Dual
5 flashes - JVC
6 flashes - Pioneer / Jensen
7 flashes - Alpine *
8 flashes - Visteon
9 flashes - Valor
10 flashes - Clarion (Type 2) †
11 flashes - Metra OE
12 flashes - Eclipse (Type 2) †
13 flashes - LG
14 flashes - Parrot **
15 flashes - XITE
16 flashes - Philips
17 flashes - TBD
18 flashes - JBL
Continued on the next page
REV. 7/19/2017 INSTAX-FD1-SWC
5
