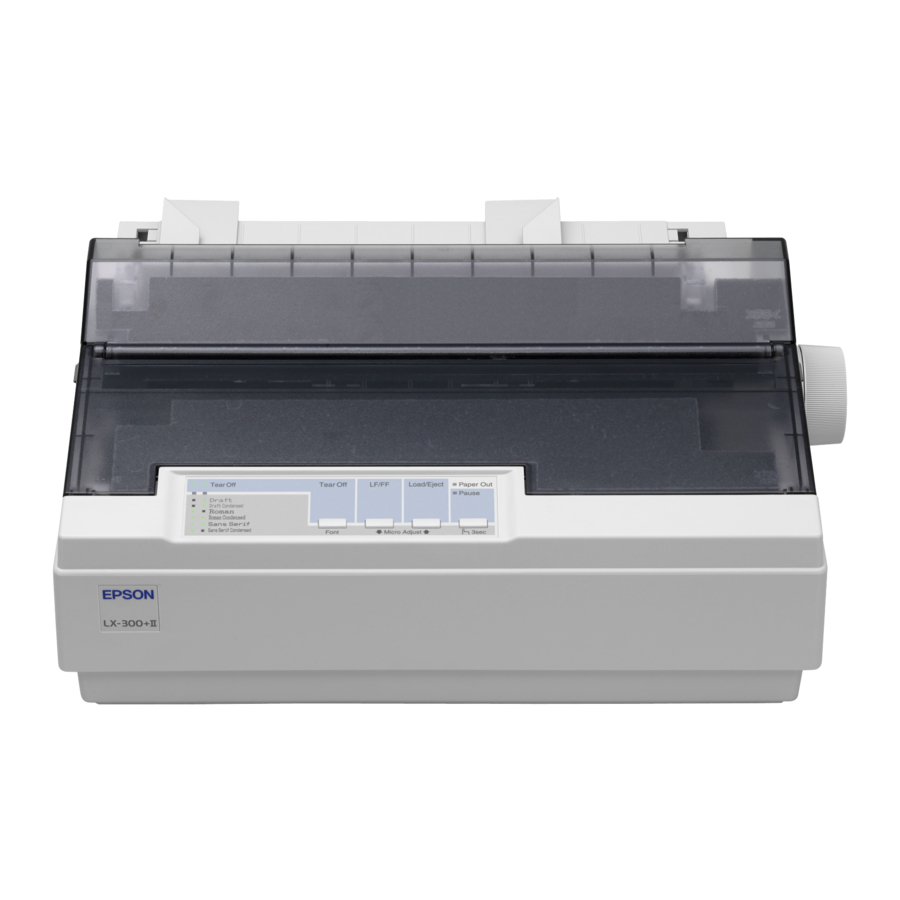
Epson C11C640001 - LX 300+II B/W Dot-matrix Printer Handmatig - Pagina 10
Blader online of download pdf Handmatig voor {categorie_naam} Epson C11C640001 - LX 300+II B/W Dot-matrix Printer. Epson C11C640001 - LX 300+II B/W Dot-matrix Printer 17 pagina's. Epson lx-300: user guide
Ook voor Epson C11C640001 - LX 300+II B/W Dot-matrix Printer: Gebruikershandleiding (50 pagina's)

Epson LX-300+II
8. Slide the left sprocket so its pins are aligned with the holes
in the paper and push the blue lock lever to lock the
sprocket in place. Then slide the right sprocket to match the
width of your paper, but do not lock it. Move the paper
supports midway between the two sprockets.
9. Make sure your paper has a clean, straight leading edge.
Open the sprocket covers. Fit the first holes of the paper
over the sprocket pins and then close the sprocket covers.
Slide the right sprocket to remove any slack in the paper and
then lock it in place.
Remove any remaining slack by gently pulling the
paper from the back.
10. To separate the incoming paper from the printed paper,
attach the paper guide. Hold it horizontally and fit its
notches over the printer's mounting posts. Then slide the
paper guide toward the back of the printer until you feel it
click.
11. Turn the paper feed knob to adjust the paper position. The
perforation between pages should be just above the print
head.
12. Replace the printer cover but leave it open.
13. Turn on the printer.
14. Set the Auto tear off feature in the Default Setting mode to
; otherwise, the paper may jam. (See page 14 for more
Off
information.)
10 - Epson LX-300+II
When the printer receives data, it begins printing automatically.
If you want to change the position where printing begins on the
page, press the
LF/FF
top-of-form position, and then see the next section to adjust the
loading position.
To eject the paper, tear off the paper entering the printer; then
press the
button to feed the paper forward.
LF/FF
Adjusting the top-of-form position
If your printing appears too high or too low on the page, you
can use the Micro Adjust feature to adjust the top-of-form
position.
Never use the paper feed knob to adjust the top-of-
form position; this may damage the printer or cause it
to lose the top-of-form position.
1. Make sure the printer is turned on and paper is loaded.
2. Remove the printer cover.
3. Hold down the
Pause
printer beeps and the Pause light starts flashing as the
printer enters Micro Adjust mode.
4. Press the
D button to move the top-of-form position
LF/FF
higher on the page, or press the
move the top-of-form position lower on the page.
The printer has a minimum and a maximum top-
of-form position. If you try to adjust it beyond
these limits, the printer beeps and stops moving
the paper.
When the paper reaches the default top-of-form position,
the printer beeps and stops moving the paper briefly. You
can use the default position as a reference point when
adjusting the top-of-form position.
5. After you set the top-of-form position, press the
button to exit the Micro Adjust mode.
7/06
button to advance the page to the next
button for about three seconds. The
U button to
Load/Eject
Pause
