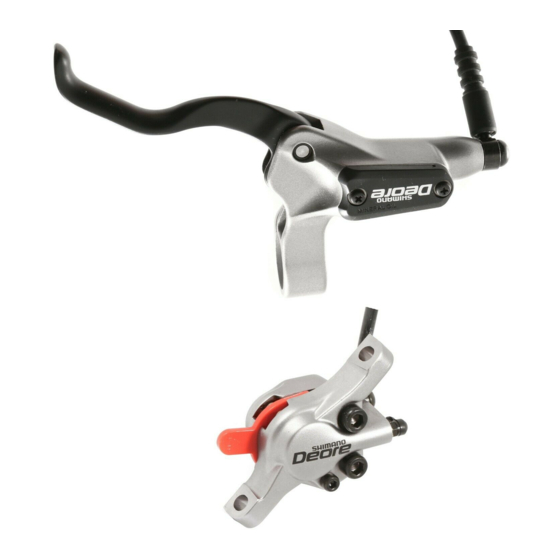
Shimano BR-M755 Servicehandleiding - Pagina 26
Blader online of download pdf Servicehandleiding voor {categorie_naam} Shimano BR-M755. Shimano BR-M755 41 pagina's. Disc brake systems

Hydraulic Disc Brake
Precautions
with regard
to use
push back the brake pads, while being careful not to damage the surfaces of the brake pads. (If the
brake pads are not installed, push the pistons straight back in, while being careful not to damage them.)
If it is difficult to push the brake pads or pistons back, remove the reservoir tank cover and then try
again. (Note that some oil may overflow from the reservoir tank at this time.)
• Use isopropyl alcohol, soapy water or a dry cloth when carrying out cleaning and maintenance of the
brake system. Do not use commercially-available brake cleansers or silencing agents, as they can cause
damage to parts such as seals.
• Do not remove the pistons when disassembling the calipers.
• Parts are not guaranteed against natural wear or deterioration resulting from normal use.
• For maximum performance we highly recommend Shimano lubricants and maintenance products.
[
CAUTION
Installation
Installation of the rotor
Install the rotor and the rotor tightening plate to the
hub, and then install and tighten the bolts as shown
in Fig. 1.
Fig. 1
Hub
While wearing gloves, apply a force to the rotor to
turn it in a clockwise direction as shown in Fig. 2.
While doing this, tighten the rotor fixing bolts in the
order shown in the illustration.
Tightening torque:
2 - 4 N·m {18 - 35 in. lbs.}
• When the bicycle wheel has been removed, it is
recommended that pad spacers should be installed.
The pad spacers will prevent the piston from coming
out if the brake lever is depressed while the wheel is
removed.
• If the brake lever is depressed without the pad spacers
installed, the pistons will protrude further than is
normal. Use a flat-tipped screwdriver or similar tool to
I When cleaning with a compressor
• If disassembling the caliper body to clean the internal parts using a
compressor, note that moisture from the compressed air may remain on
the caliper components. Let the caliper components dry sufficiently before
reassembling the calipers.
Tightening plate
Rotor
Rotor fixing bolts
(#T25 torx)
Use a flat-tipped screwdriver or similar tool to bend
the edges of the tightening plate over the heads of
the bolts as shown in Fig. 3.
Fig. 2
< SM-RT96 >
Tightening torque:
40 N·m {350 in. lbs.}
25
pad spacer
Fig. 3
Tightening plate
Rotor
installation ring
TL-LR15
]
