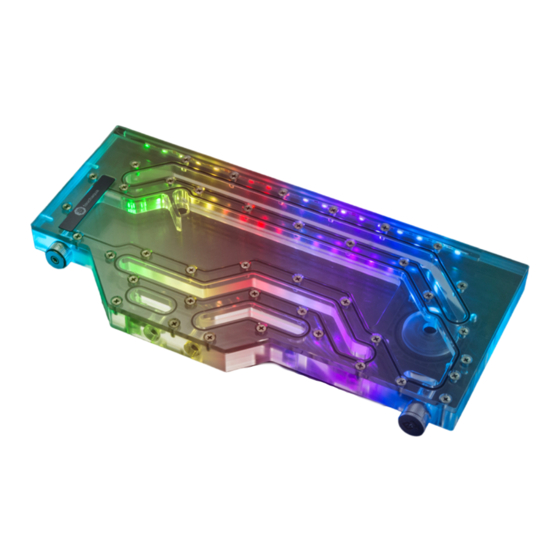
Bitspower Sedna PH518 Installatiehandleiding - Pagina 4
Blader online of download pdf Installatiehandleiding voor {categorie_naam} Bitspower Sedna PH518. Bitspower Sedna PH518 6 pagina's. For phanteks 518-pwm
Ook voor Bitspower Sedna PH518: Installatiehandleiding (17 pagina's)

安裝方式/Installation/安装方式
步驟1/Step 1/步骤1
Phanteks 518
(不包括/Not included /不包括)
步驟3/Step3/步骤3
水道板傾斜放入機殼內部,然後扶正
Tilt the waterway plate into the
chassis and straighten it
水道板倾斜放入机壳内部,然后扶正
注意,跑水前,請先確認所有零件已安裝在正確的位置上,在不開主機,單開水泵的情况下,進行24小時的跑水測試, 確保無漏水情况後再開主機,避免發生漏水而導致電腦零件的損壞。
Before filling in the water, please make sure all the components are installed correctly. To prevent any leakage which may damage the PC components, please perform a 24-hour leaking test
with only the pump connected to the power supply .
注意,跑水前,请先确认所有零件已安装在正确的位置上,在不开主机,单开水泵的情况下,进行24小时的跑水测试, 确保无漏水情况后再开主机,避免发生漏水而导致电脑零件的损坏。
本公司保留對產品的設計更改以及解釋的權力,如有更動恕不另行通知,產品顏色與配件以實物為準。
Bitspower reserves the right to change the product design and interpretations. These are subject to change without notice. Product colors and accessories are based on the actual product.
本公司保留对产品的设计更改以及解释的权力,如有更动恕不另行通知,产品颜色与配件以实物为准。
內部結構示意
Internal structure indication
内部结构示意
Sedna PH518 for Phanteks 518
步驟2/Step 2/步骤2
M4×10L 平頭螺絲
M4×10L Flat head screw
M4×10L 平头螺丝
步驟4/Step4/步骤4
水道板往右側移動,使水道板底部固定孔與支撐架螺孔對齊
Move the waterway plate to the right to align the fixed
holes at the bottom of the waterway plate with the screw
Bracket .
holes of the
水道板往右侧移动,是水道板底部固定孔与支撑架螺孔对齐
支撐架
後視圖/Rear view/后视图
Bracket
支撑架
防滑螺母
Antiskid nut
防滑螺母
※支撐架固定需要使用防滑螺母,
螺母需要從機殼背後放入
※Anti-skid nuts are required for
bracket fixing,and nuts are inserted
from the back of the chassis.
※支撑架固定需要使用防滑螺母,
螺母需要从机壳背后放入
孔位對齊
Hole alignment
孔位对齐
-PWM
