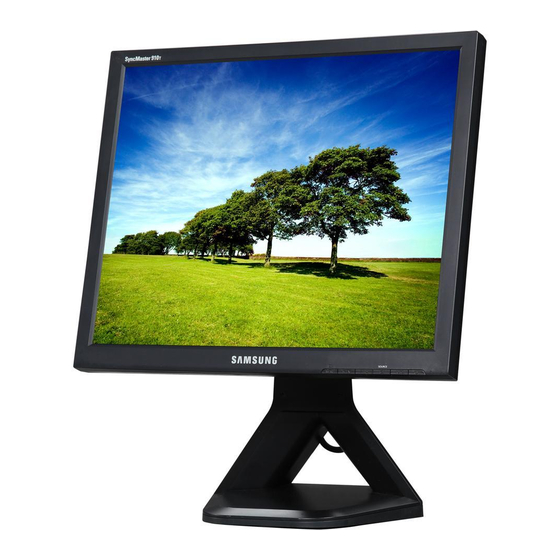
Samsung 710N - SyncMaster 17" LCD Monitor Servicehandleiding - Pagina 11
Blader online of download pdf Servicehandleiding voor {categorie_naam} Samsung 710N - SyncMaster 17" LCD Monitor. Samsung 710N - SyncMaster 17" LCD Monitor 48 pagina's. Tft-lcd monitor
Ook voor Samsung 710N - SyncMaster 17" LCD Monitor: Servicehandleiding (43 pagina's), Servicehandleiding (48 pagina's)

- 1. Table of Contents
- 2. Precautions
- 3. Servicing Precautions
- 4. Product Specifications
- 4. Pin Assignments
- 4. Timing Chart
- 5. Disassembly & Reassembly
- 6. Alignments & Adjustments
- 7. Service Function Spec
- 8. Troubleshooting
- 9. No Video (Digital)
- 10. Exploded View & Parts List
- 11. Electrical Parts List
- 12. Block Diagram
- 13. Wiring Diagram
- 14. Schematic Diagrams
4 Alignments and Adjustments
This section of the service manual explains how to use the RS232 JIG.
This function is needed for AD board change and program memory (IC110) change.
4-1 Required Equipment
The following equipment is necessary for adjusting the monitor:
• Computer with Windows 95, Windows 98, or Windows NT.
• MTI-2031 DDC MANAGER JIG
4-2 Automatic Color Adjustment
To input video, use 16 gray or any pattern using black and white.
1. Select english for OSD language.
2. Press the " (Enter/Source)" key for 5 seconds.
4-3 DDC EDID Data Input
1. Input DDC EDID data when replacing AD PCB.
2. Receive/Download the proper DDC file for the model from HQ quality control department.
Install the below jig (Figure 1) and enter the data.
4-4 OSD Adjustment When Replacing Panel
1. Adjust brightness and contrast to 0. Then, press the
Service function OSD will appear on screen.
2. Press the + key to place the cursor on the panel. Press the menu key for 5 seconds.
4-5 OSD Adjustment When Replacing Lamp Only
1. Adjust brightness and contrast to 0. Then, press the exit key for 5 seconds.
Service function OSD will appear on the screen.
2. Press the + key. Select upper lamp and press the menu key for 5 seconds.
Then, select lower lamp and press the menu key for 5 seconds.
❇
Note : Please be sure to read the following instructions for details on service function.
MJ15AS*/MJ17AS*/MJ19AS*/
MJ15BS*/MJ17BS*/MJ19BS*
Figure 1.
(Enter/Source) key for 5 second.
4-1
