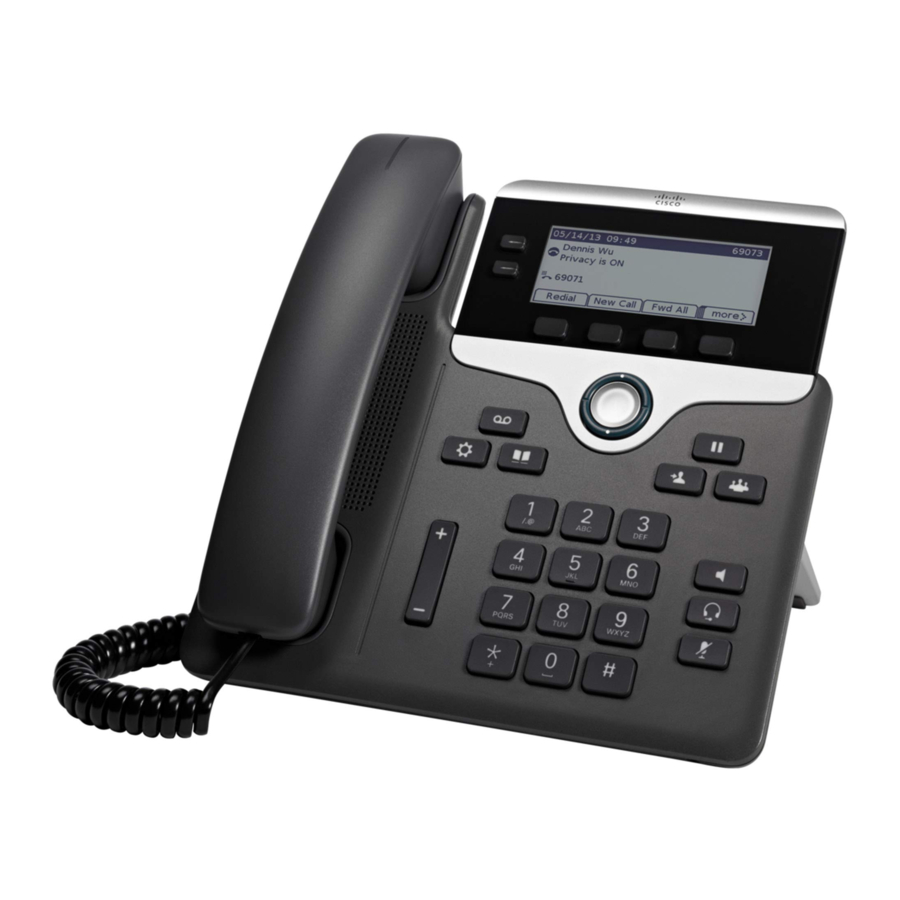
Cisco 7821 Handmatig - Pagina 20
Blader online of download pdf Handmatig voor {categorie_naam} Cisco 7821. Cisco 7821 27 pagina's. Connaught
Ook voor Cisco 7821: Release-opmerkingen (16 pagina's), Snelstarthandleiding (2 pagina's), Gebruikershandleiding (18 pagina's), Snelle referentiehandleiding (4 pagina's), Snelle referentie (4 pagina's), Snelle installatie en gebruikershandleiding (12 pagina's), Referentiehandleiding (11 pagina's), Snelstarthandleiding (4 pagina's), Gebruikershandleiding (10 pagina's), Gebruikershandleiding (20 pagina's), Beknopte referentiehandleiding voor werknemers (4 pagina's), Masterhandleiding voor firmwaremigratie (31 pagina's), Handmatig (43 pagina's), Snelstarthandleiding (6 pagina's), Snelle referentiekaart (2 pagina's), Snelstarthandleiding (2 pagina's), Installatiehandleiding (39 pagina's), Handmatig (20 pagina's), Herconfiguratiehandleiding (2 pagina's), Snelstarthandleiding (7 pagina's), Snelle installatiehandleiding (12 pagina's), Gebruikershandleiding (27 pagina's), Gebruikershandleiding (2 pagina's), Aan de slag (2 pagina's), Snelstarthandleiding (2 pagina's), Gebruikershandleiding (5 pagina's)

